Full Suspension Mountain Bike
This guide provides a complete walkthrough for setting up your full suspension mountain bike. Properly adjusting your bike's suspension sag, damping, and controls is the single most important step you can take to improve its performance, comfort, and safety on the trail. Whether your bike is brand new or just needs a tune-up, following these steps will unlock its full potential, giving you more grip, better control, and a more confident ride.
Fast Answer
- Set Suspension Sag: Aim for 25-30% in the rear shock and 15-20% in the front fork.
- Adjust Rebound: Set it so the suspension returns quickly after a bump, but doesn't bounce like a pogo stick.
- Check Tyre Pressure: Start around 22-28 PSI (tubeless) and adjust for terrain and rider weight.
- Position Controls: Angle brake levers so your wrists are straight and you can brake with one finger.
Before You Start
Setting up your bike correctly requires a few specific tools and a methodical approach. The goal is to tailor the bike to your specific weight and riding style. Gather everything you need first, and plan to do this when you have plenty of time and are not in a rush to get out for a ride. The time invested here will pay off massively on the trail.
What You Need
- Shock Pump: This is a high-pressure pump specifically for suspension. A standard tyre pump will not work and may damage your suspension.
- Metric Allen Keys / Multi-tool: You will need a set of Allen keys (usually 4mm, 5mm, and 6mm) to adjust your controls and check bolts.
- Measuring Tape or Ruler: A small ruler with millimetre markings is essential for accurately measuring suspension sag.
- Your Bike's Manual: Your bike manufacturer's guide often includes recommended base settings for pressure and damping. Keep it handy.
- Full Riding Gear: You must wear everything you normally ride with—helmet, shoes, hydration pack, etc.—to ensure the bike is set for your actual riding weight.
- Torque Wrench (Recommended): To avoid damaging expensive components or creating a safety hazard, a torque wrench is highly recommended for checking suspension pivots and cockpit bolts.
Safety, Timing, or Context Checks
Step-by-Step Instructions
Set Your Suspension Sag
Sag is the amount your suspension compresses under your static body weight. It's the most critical setting on your full suspension mountain bike. Correct sag ensures your wheels can drop into holes and track the ground effectively, providing grip and control. Without it, your bike will feel harsh and skittish.
First, get into your full riding gear. This is crucial for an accurate weight measurement.
For the Rear Shock:
- Slide the rubber O-ring on the shock's shaft right up against the main air can seal. If you don't have an O-ring, you can loosely attach a zip tie instead.
- Carefully get on the bike. It's helpful to lean against a wall to avoid bouncing, which will skew the reading.
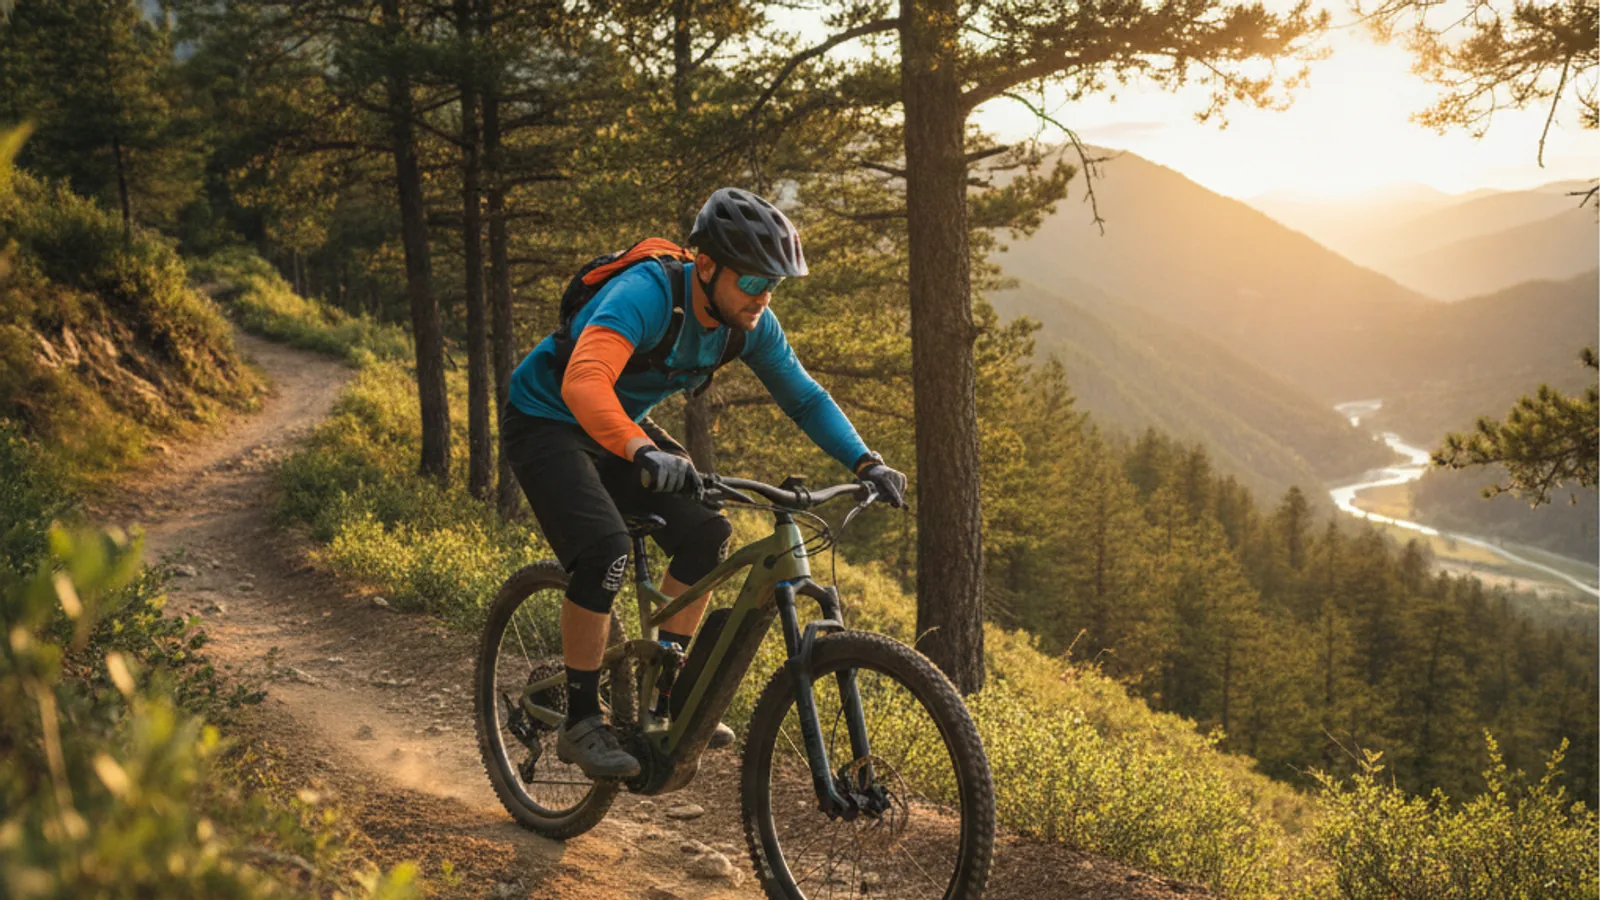
- Settle into your normal "attack position"—stand up on the pedals with your cranks level, chest low, and weight centred.
- Without bouncing, carefully get off the bike.
- Measure the distance in millimetres that the O-ring has moved down the shaft. This is your sag measurement.
- To calculate your sag percentage, divide your sag measurement by the shock's total stroke length (you can find this in your bike's manual) and multiply by 100. For example, if the O-ring moved 15mm on a 60mm stroke shock, your sag is (15 / 60) * 100 = 25%.
- Your target is 25-30% sag. If your sag is too high (e.g., 35%), add air with your shock pump. If it's too low (e.g., 20%), release air using the pump's bleed valve. Repeat the process until you hit the target.
For the Fork: The process is the same. Aim for a lower sag percentage of 15-20% for the front fork. This provides more support under braking and on steep terrain.
Adjust Rebound Damping
Rebound damping controls the speed at which your suspension extends back to its original position after compressing. Getting this right is key to feeling in control. If rebound is too fast, the bike will feel like a pogo stick, bucking you after hits. If it's too slow, the suspension won't recover in time for the next bump, "packing down" and feeling harsh.
- Locate the rebound adjuster. It's almost always a red dial. On the fork, it's usually at the bottom of the right leg. On the rear shock, it's typically near the air valve or lockout lever.
- Turn the dial all the way in one direction to feel the full range of clicks, then turn it all the way back, counting the clicks. Set it to the middle of its range as a starting point.
- Perform a "kerb test." Stand next to the bike and forcefully push down on the handlebars or saddle to compress the suspension, then quickly let go.
- Watch how it returns. It should return quickly but smoothly, in one controlled motion. If it bounces or overshoots, your rebound is too fast (turn the dial towards the tortoise/minus symbol). If it seems to return very slowly and sluggishly, it's too slow (turn the dial towards the hare/plus symbol).
- Adjust by one or two clicks at a time and re-test until it feels controlled.
Configure Compression Damping and Climb Switches
Compression damping controls how the suspension resists forces, essentially how it feels when it compresses. Most modern full suspension mountain bikes simplify this with a 2 or 3-position lever on the fork and shock, often labelled 'Open', 'Pedal' (or 'Trail'), and 'Climb' (or 'Lock').
- Open Mode: This provides the least compression damping, allowing the suspension to move freely. Use this for descents and rough, technical terrain where you need maximum traction and bump absorption.
- Pedal/Trail Mode: This adds some low-speed compression damping. It helps reduce suspension movement from pedalling forces ("pedal bob") while still allowing the suspension to absorb bumps. This is your all-purpose mode for rolling terrain and general trail riding.
- Climb/Lock Mode: This setting makes the suspension very firm, sometimes nearly rigid. It's designed for smooth climbs on roads or fire roads where pedalling efficiency is the top priority. Avoid using this on rough trails, as it will reduce traction and provide a very harsh ride.
For your initial setup and first few rides, it's best to leave the suspension in the 'Open' mode. This allows you to feel how the spring rate (from your sag setting) and rebound are working without interference. Once you're happy with those, you can start experimenting with the other modes on different types of trails.
Dial In Your Cockpit and Controls
An uncomfortable bike is a bike you won't want to ride. Ergonomics are personal, but there are excellent starting points for a comfortable and controlling setup.
- Brake Lever Position: Sit on the bike in your attack position. Your brake levers should be positioned inboard on the handlebars so that your index finger naturally falls on the very end of the lever blade. This gives you the most leverage and control for one-finger braking.
- Brake Lever Angle: Your levers should be angled downwards so they form a straight line with your arms and hands when you're in the attack position. This prevents wrist strain. A common mistake is having them angled too flat (parallel to the ground).
- Shifter and Dropper Post Levers: Position these so you can reach them easily with your thumb without having to loosen your grip on the handlebars.
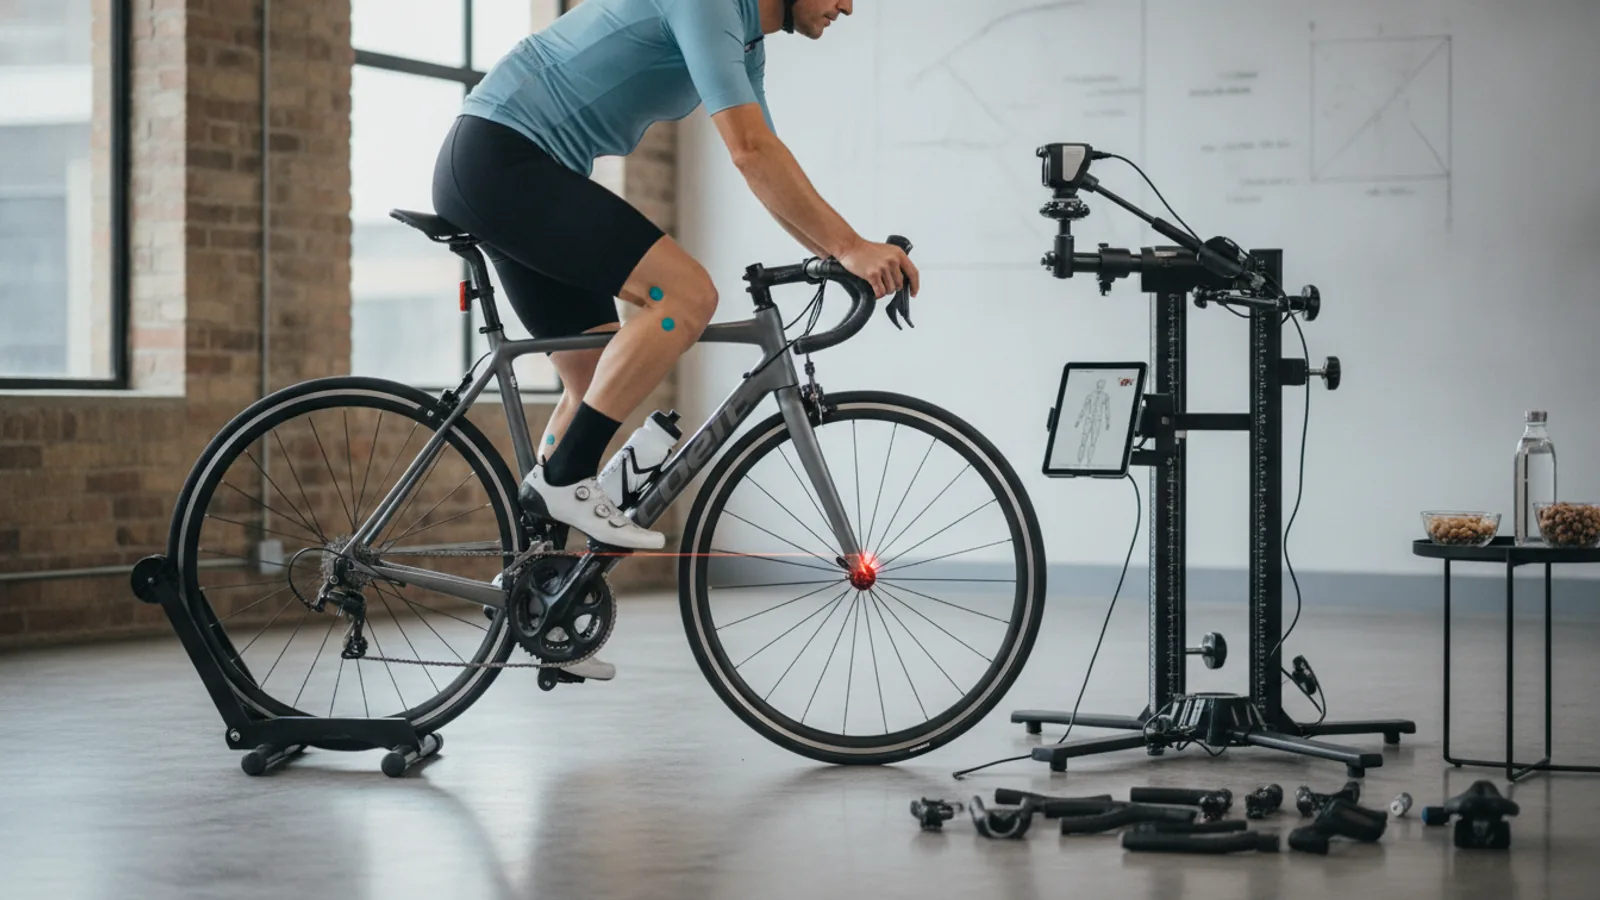
- Saddle Height: For general riding, your saddle should be high enough that when you place your heel on the pedal at its lowest point, your leg is straight. This will give you a slight, efficient bend in the knee when your foot is properly placed for pedalling.
- Saddle Fore/Aft Position: With your cranks level (horizontal), the bony bump just below your kneecap on your front leg should be directly above the axle of the pedal. Adjust the saddle forwards or backwards on its rails to achieve this.
Set Your Tyre Pressure
Your tyres are your first line of suspension, and their pressure is just as important as your shock settings. The right pressure provides a balance of grip, comfort, and rolling speed. There is no single "correct" pressure; it depends on rider weight, tyre size, whether you're using tubes or a tubeless setup, and the terrain.
A good starting point for an average-weight rider (around 75kg) with a modern tubeless setup is:
- Front Tyre: 22-25 PSI
- Rear Tyre: 25-28 PSI
From here, you can adjust. If you're riding on wet, slippery roots, you might drop the pressure by 2-3 PSI for more grip. If you're riding hard-packed, fast trails, you might add a couple of PSI for better rolling speed. Listen and feel for your tyres squirming in corners (pressure is too low) or feeling harsh and deflecting off rocks (pressure is too high).
Perform a Final Safety Check
Before you hit the trails, it's vital to give your bike a final once-over to ensure everything is secure and working correctly. A great way to remember this is the "M-Check," which follows the shape of the letter M over your bike.
- Rear Wheel: Start at the rear axle. Check that it's tight. Squeeze the rear brake and try to push the bike forward; it shouldn't move. Spin the wheel to check it's straight.
- Saddle and Seatpost: Move up to the saddle. Check that the seatpost clamp is tight and the saddle doesn't twist.
- Cranks and Pedals: Move down to the bottom bracket. Wiggle the crank arms to check for any play. Check the pedals are screwed in tightly.
- Handlebars and Stem: Move up to the cockpit. Check the stem bolts are tight by standing over the front wheel and trying to twist the handlebars. Check the headset for play by holding the front brake and rocking the bike back and forth. You shouldn't feel a knock.
- Front Wheel: Move down to the front axle. Check it's tight. Squeeze the front brake and check it holds firm. Spin the wheel to ensure it runs true.
This simple check takes less than a minute and can prevent a mechanical issue from ruining your ride or causing an accident.
Quick Reference
| Situation | Use this | Why |
|---|---|---|
| Smooth, long road or fire road climbs | Engage the 'Climb' or 'Lock' mode on your suspension | It minimises suspension movement to maximise pedalling efficiency. |
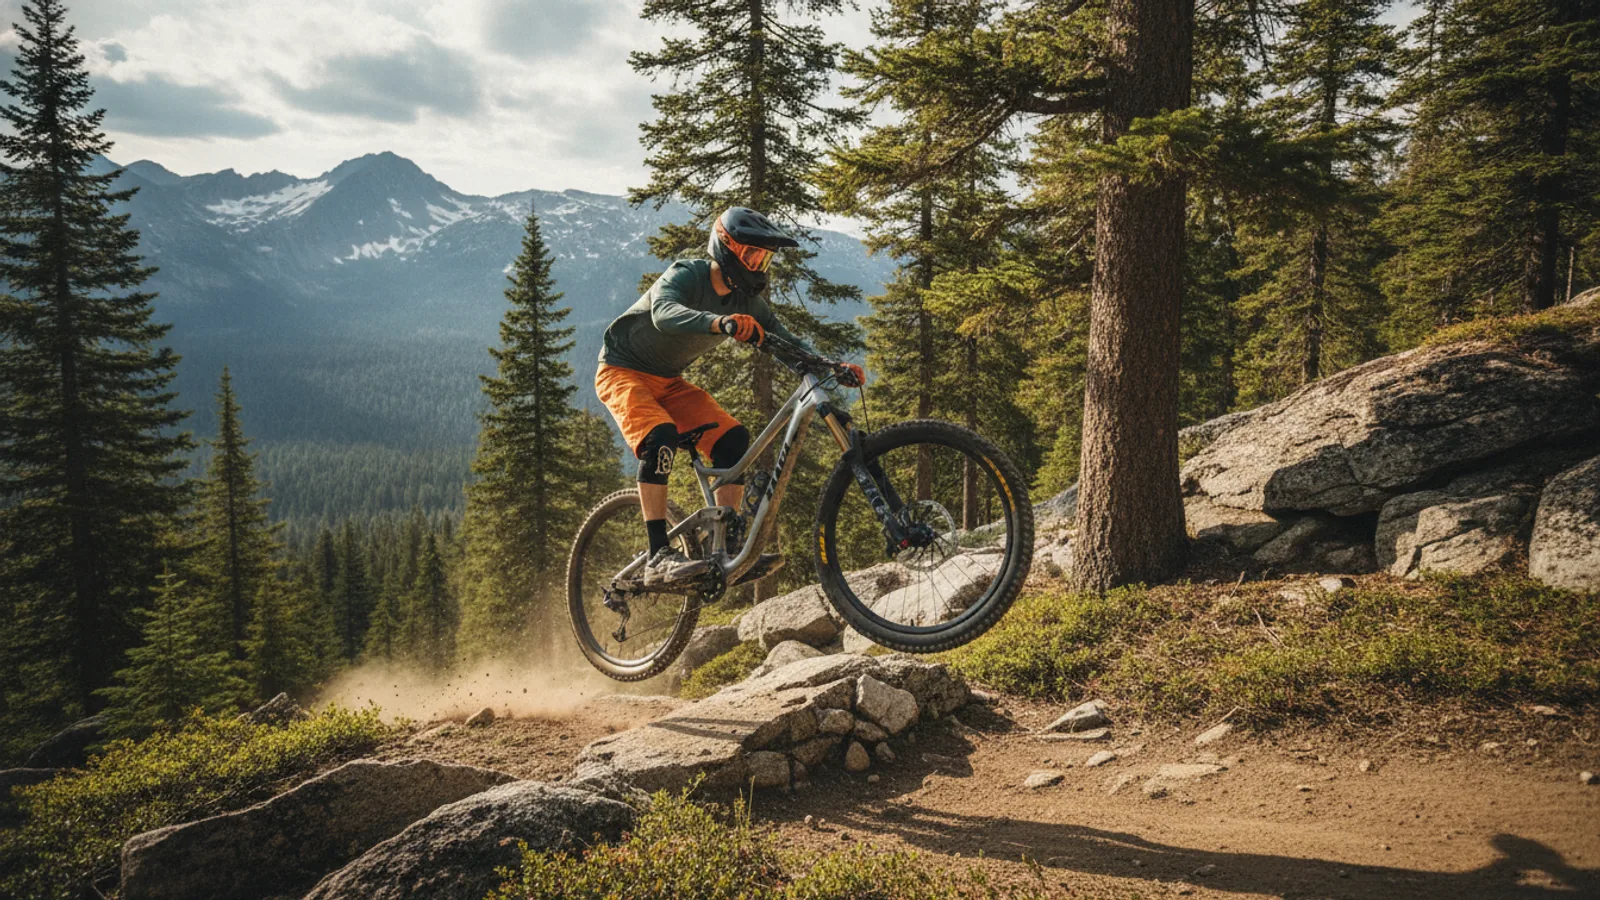
| Fast, rocky, technical descents | Set suspension to 'Open' mode and use your attack position | This allows the suspension to absorb impacts freely, maintaining traction and control. |
| Losing traction or washing out in corners | Lower tyre pressure by 1-2 PSI, especially in the front | This increases the tyre's contact patch with the ground, improving grip. |
| Suspension feels harsh on small, repetitive bumps | Speed up your rebound setting by 1-2 clicks | Your suspension may be "packing down," unable to recover between hits. |
| Feeling a harsh "thud" on big hits or landings | Add 5-10 PSI to your fork/shock and re-check sag | You are likely "bottoming out" the suspension, which can damage components. |
Common Problems When You Set Up Your Bike
Even with careful setup, you might run into some common issues. Here’s how to troubleshoot them.
- Problem: The suspension feels harsh and isn't using its full travel.
Solution: This is usually a sign of too much air pressure. Let some air out in 5 PSI increments and re-check your sag. It could also be that your compression damping is set too firm, so make sure it's in the 'Open' position for testing. - Problem: The bike "bottoms out" easily with a loud clunk on big hits.
Solution: You don't have enough air pressure or support. Add 10 PSI to your fork or shock and cycle the suspension to equalise the air chambers before re-checking your sag. If you have the correct sag but still bottom out frequently, you may need to add a volume spacer (see Advanced Tips). - Problem: The bike feels uncontrolled and bouncy, like a pogo stick.
Solution: Your rebound is set too fast. The suspension is extending with too much force, unsettling the bike. Slow your rebound down by turning the red dial two clicks towards the tortoise (-) symbol and test again. - Problem: My hands, wrists, or back hurt after riding.
Solution: This is almost always an ergonomic or cockpit issue. Your brake levers are likely at the wrong angle, or your handlebars might need to be "rolled" slightly forwards or backwards in the stem. Make small, one-at-a-time adjustments to find a more neutral and comfortable position.
Advanced Tips for Full Suspension Mountain Bikes
Once you've mastered the basics, you can further refine your ride with these more advanced techniques.
- Tuning with Volume Spacers: Inside your air fork and shock are small plastic tokens called volume spacers. Adding a spacer makes the air spring more "progressive," meaning it gets firmer towards the end of its travel. This is a fantastic way to prevent bottoming out without having to run excessively high pressures that make the initial part of the travel feel harsh. If you have the correct sag but still use all your travel too easily, adding one volume spacer is the next step.
- Bracketing Your Settings: To truly understand what an adjustment does, use bracketing. Find a short, familiar section of trail you can ride repeatedly. Set your rebound, for example, to the recommended setting. Ride the trail. Then, add two clicks of rebound (slower) and ride it again. Finally, remove four clicks (so you're two clicks faster than your baseline) and ride it a third time. This exaggerated process makes it very clear which setting feels best and helps you learn the effect of each click.
- High and Low-Speed Compression Damping: Higher-end suspension often has separate adjusters for high-speed and low-speed compression (usually blue dials). Low-speed affects suspension movement from body weight shifts, pedalling, and braking (slow shaft speeds). Adding low-speed compression can improve pedalling support. High-speed affects big, sharp hits like landing a jump or hitting a rock at speed. Adding high-speed compression can prevent bottoming out on major impacts.
Full Suspension Mountain Bike FAQ
How often should I check my suspension pressure?
Check it briefly before every ride because small amounts of air can leak over time. At a minimum, check it weekly so your settings stay consistent.
What is the difference between an air spring and a coil spring?
An air spring is light and adjustable for rider weight with a shock pump. A coil spring is a physical metal spring with consistent feel, but changing rider weight usually requires a different spring.
Do I really need a torque wrench?
For safety-critical components such as the stem, handlebars, and suspension pivot bolts, yes. It helps you tighten bolts safely without damaging carbon or alloy parts.
My bike does not have all these adjustment dials. What should I do?
Focus first on air pressure, including sag, and rebound damping. Getting those two settings right gives most riders a controlled and useful starting point.
Final Checklist for Your Full Suspension Mountain Bike
- Rider sag is set to 25-30% in the rear shock.
- Rider sag is set to 15-20% in the front fork.
- Rebound damping is adjusted for a controlled, non-bouncy return.
- Brake levers and shifters are positioned for easy, one-finger access.
- Saddle height and position are correct for efficient pedalling.
- Tyre pressures are set for your weight and typical trail conditions.
- An "M-Check" has been performed to confirm all key bolts are tight.
- Brakes have been tested and are working correctly.