How Do I Measure Bicycle Frame Size
Getting the right bicycle frame size is the most important step towards a comfortable, efficient, and enjoyable ride. An incorrectly sized frame can lead to discomfort, poor handling, and even injury. This guide shows you how to measure yourself and the bike to find the perfect fit. Whether you are buying a new bike online or checking a second-hand model, these steps will give you the confidence to choose the right size for your body and riding style.
Fast Answer
- Measure your inseam: Stand against a wall and pull a book firmly up into your crotch. Measure from the top of the book to the floor.
- Measure the seat tube: On the bike, measure from the centre of the pedal axle (bottom bracket) to the top of the seat tube.
- Check the size chart: Always compare your measurements with the specific manufacturer's size guide for the bike model you want.
Before You Start
Finding your perfect bike size involves two key approaches: measuring your body and measuring the bike itself. Gathering a few simple tools will ensure your measurements are accurate. It’s also crucial to understand that different types of bicycles are measured in different ways, so what works for a road bike won't be right for a mountain bike.
What You Need
- A reliable tape measure (a metal, retractable one is best)
- A large hardcover book or a spirit level
- A flat wall you can stand against
- A pen and paper or a notes app on your phone
- A calculator
- The bicycle you wish to measure, if you have it
Safety and Context Checks
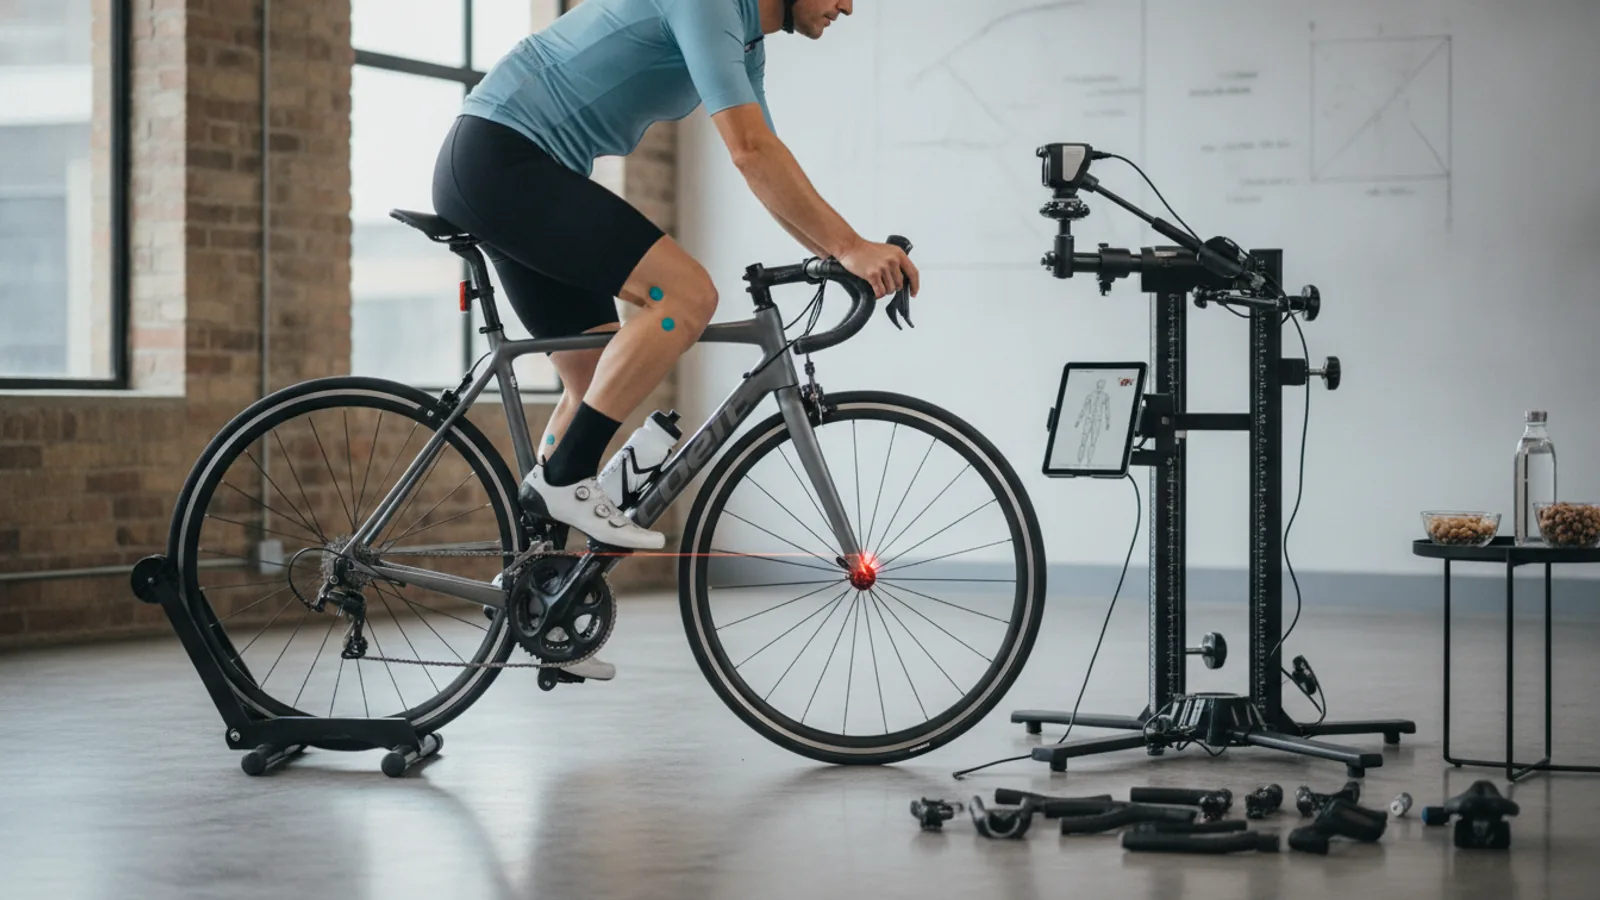
While this guide provides a very accurate starting point, it's not a substitute for a professional bike fit from a specialist shop. A full bike fit fine-tunes every aspect of the bike to your unique body geometry and flexibility, which is highly recommended for serious racers, long-distance tourists, or anyone dealing with chronic pain. Think of this guide as getting you the right size suit off the rack; a bike fit is the tailor making it perfect for you.
Step-by-Step Instructions
We'll first walk through measuring your body, which is the best method when you're shopping for a new bike. Then, we'll cover how to measure a physical bike frame, which is ideal for checking a bike you're considering buying second-hand.
Step 1: Prepare to Measure Your Inseam
Your cycling inseam is the most critical measurement for determining frame size. To get it right, you need to be precise. Start by finding a clear, flat section of wall. Remove your shoes and socks to ensure you are measuring from the floor. It's best to wear thin, close-fitting clothing like cycling shorts or leggings, as bulky trousers can interfere with the measurement. Stand with your back pressed firmly against the wall, looking straight ahead.
Step 2: Position Your Feet Correctly
Place your feet about 15-20 cm (6-8 inches) apart. This stance mimics how you would stand over a bike's top tube and gives a more realistic measurement than standing with your feet together. Ensure your weight is evenly distributed on both feet to maintain a natural posture.
Step 3: Simulate the Saddle to Find Your Crotch Height
Take your large hardcover book and place it between your legs, with the spine facing upwards. Slide the book up until it is snug against your crotch. Now, pull the book upwards with firm pressure. You should be applying enough force to simulate the feeling of sitting on a bike saddle. It might feel slightly uncomfortable, but this pressure is essential for an accurate measurement. Ensure the book's spine is kept level and parallel to the floor; using a spirit level here is a great way to guarantee this.
Step 4: Measure and Record Your Inseam
With the book held in place (or a mark on the wall), use your tape measure to measure the distance from the top of the book's spine straight down to the floor. Don't let the tape measure sag. For best results, ask a friend to help you with this part. Take the measurement three times to ensure consistency, and use the average. Record your measurement in both centimetres (cm) and inches (in), as different bike brands use different units.
Step 5: Calculate Your Recommended Frame Size
Now you can use your inseam measurement to get a reliable estimate for the right frame size. The formula varies depending on the type of bike because their geometries are designed for different purposes. Use the calculation that matches your intended bike type:
- For a Road Bike: Your Inseam (in cm) x 0.67 = Recommended Frame Size (in cm). Road bikes have a more aggressive posture, so the frame size calculation is very specific.
- For a Mountain Bike: Your Inseam (in cm) x 0.58 = Recommended Frame Size (in cm). Mountain bikes need more clearance, resulting in a different multiplier. You may need to convert this to inches (divide by 2.54) as many MTB brands use inches or S/M/L sizing.
- For a Hybrid or City Bike: Your Inseam (in cm) x 0.685 = Recommended Frame Size (in cm). These bikes have a more relaxed, upright geometry that sits between a road and mountain bike.
For example, if your inseam is 82 cm and you want a road bike, your calculation would be 82 x 0.67 = 54.94 cm. You would look for a 55 cm frame. These calculations are a fantastic starting point, but you must always cross-reference the result with the manufacturer's own sizing chart, which is usually found on their website.
Step 6: Measure the Bike's Seat Tube Length
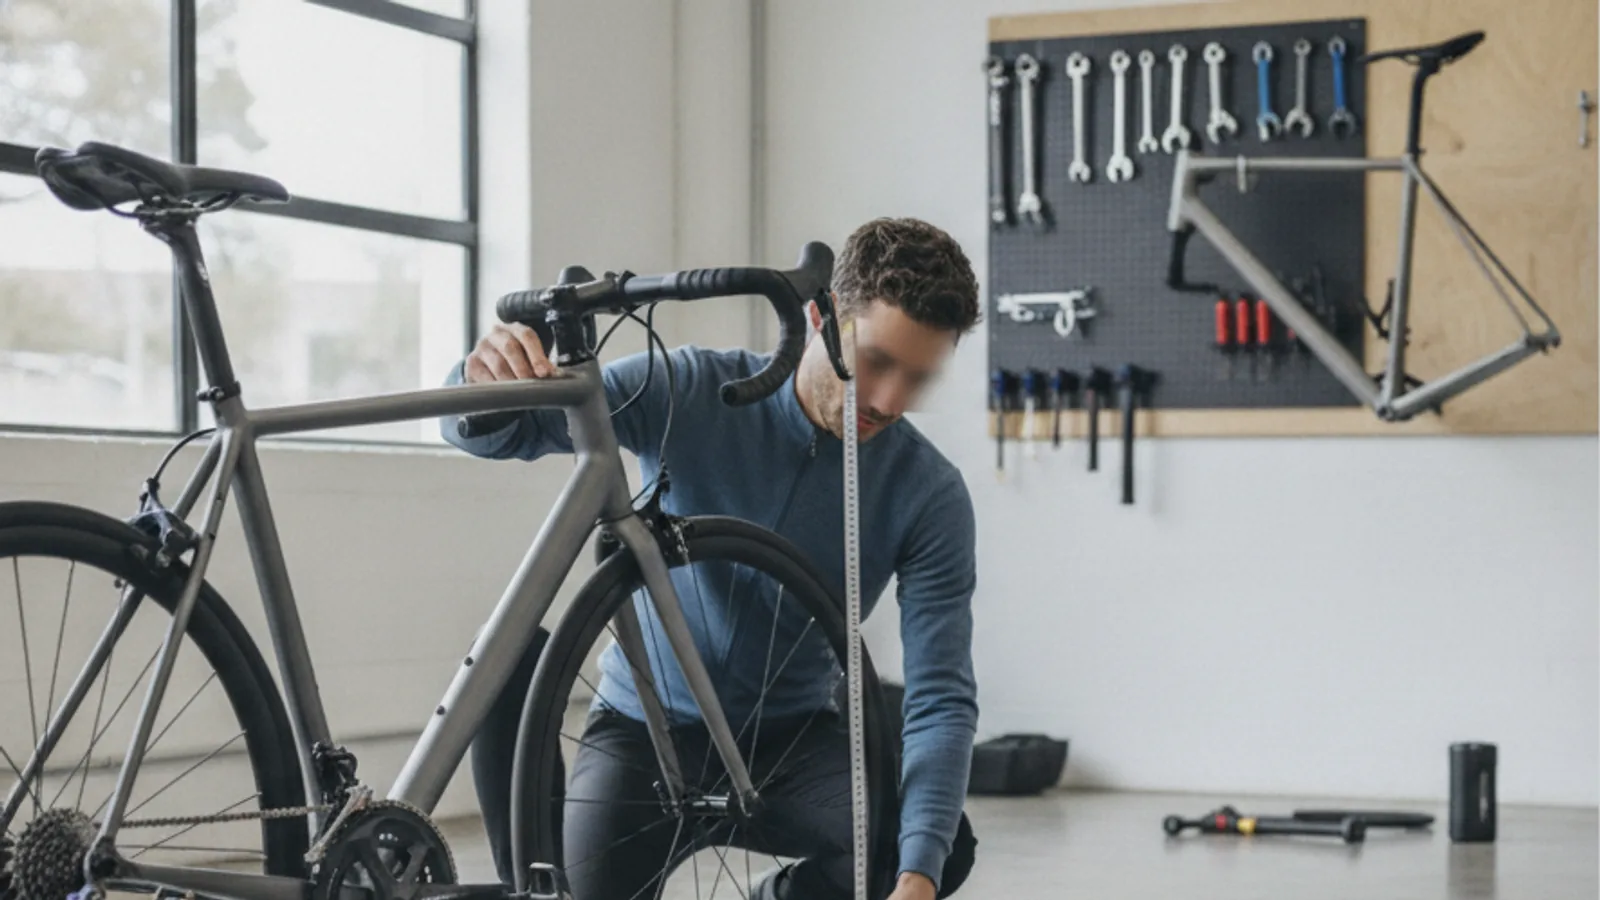
If you have a bike in front of you, you can measure it directly. The traditional measurement for frame size is the seat tube length. First, locate the bottom bracket — this is the large cylindrical shell at the bottom of the frame where the pedal arms attach. Then, locate the seat tube, which is the main vertical tube that the seat post slides into.
Place the end of your tape measure at the exact centre of the bottom bracket. Extend the tape measure up along the seat tube to the very top, where the seat post is inserted. This measurement, known as "Centre-to-Top" (C-T), is the most common industry standard. Write this number down. Some older or more niche brands measure "Centre-to-Centre" (C-C), which is from the centre of the bottom bracket to the centre of where the top tube joins the seat tube. Unless specified otherwise, assume the size refers to C-T.
Step 7: Check the Standover Height
Standover height is a crucial check for safety and comfort. It’s the distance from the ground to the top of the bike's top tube. To measure it, have the bike standing upright and place your tape measure on the ground, extending it vertically to the top of the top tube at its midpoint (halfway between the handlebars and the saddle).
Now, compare this measurement to your cycling inseam. You need to have adequate clearance. The amount of clearance needed varies by bike type:
- Road Bikes: 2-5 cm (about 1-2 inches) of clearance.
- Hybrid/City Bikes: 5-8 cm (about 2-3 inches) of clearance.
- Mountain Bikes: 8-12 cm (about 3-5 inches) or more. You need significant clearance for safely dismounting on uneven, technical terrain.
Step 8: Understand 'Reach' and 'Stack' for a Better Comparison
While seat tube length is the traditional size, modern bike geometry is more complex. Two of the most important metrics used by designers and experienced cyclists are 'Reach' and 'Stack'. You won't measure these with a tape measure; you'll find them on the geometry chart on the manufacturer's website.
- Stack: This is the vertical distance from the centre of the bottom bracket to the top of the head tube (where the handlebars connect). A higher stack means a more upright, relaxed riding position.
- Reach: This is the horizontal distance from the centre of the bottom bracket to the top of the head tube. A longer reach means a more stretched-out, aggressive, and aerodynamic riding position.
These two numbers are the best way to compare the true fit and feel of two different bikes. If you love the feel of your current bike, look up its stack and reach numbers and find a new bike with similar figures.
Quick Reference
| Situation | Use this | Why |
|---|---|---|
| Buying a new bike online | Your inseam & manufacturer's size chart | This is the most reliable method to get the right size without physically trying the bike first. |
| Checking a second-hand bike | Seat tube length & Standover height | These are quick physical checks to confirm if the bike is in the right ballpark for your body. |
| Comparing the 'feel' of two bikes | Stack and Reach measurements | These numbers provide the most accurate comparison of how a bike's riding position will actually feel. |
| My current bike feels too stretched out | Look for a new bike with a shorter 'Reach' | A shorter reach will bring the handlebars closer to you, creating a more compact and upright position. |
Common Problems When You Measure Bicycle Frame Size
Even with careful measurements, you might encounter a few common issues. Here’s how to navigate them.
Problem: My calculation lands between two sizes.
This is very common. If the chart suggests you could ride a 54 cm or a 56 cm frame, the choice often comes down to your body proportions and riding style. A quick test is to check your "Ape Index": your arm span measurement minus your height. If you have a positive Ape Index (longer arms), you may be more comfortable on the larger size. If you have a negative Ape Index (shorter arms), the smaller size is often the better choice. Alternatively, if you prefer a nimble, responsive ride, choose the smaller frame. If you value stability on long rides, the larger frame may be better.
Problem: The bike has a sloping top tube.
Most modern road, gravel, and mountain bikes have a "compact" frame with a top tube that slopes downwards from the handlebars to the saddle. This means a direct measurement of the seat tube will seem very short. In this case, manufacturers base their sizing on a "virtual" or "effective" top tube length—a horizontal line drawn from the head tube to the seat post. You cannot measure this easily. For these bikes, it is essential to ignore old formulas and rely entirely on the manufacturer's stated size (e.g., "56cm" or "Medium") and their corresponding height recommendations.
Problem: The sizes are S, M, L, not numbers.
T-shirt style sizing is now the standard for mountain bikes and increasingly common for gravel and hybrid bikes. There is no industry standard for what constitutes a "Medium". An M from one brand can fit like an L from another. Your only reliable guide is the detailed size chart provided by the manufacturer for that specific model. Look for your height and inseam on their chart to find their recommended size.
Advanced Tips for a Perfect Fit
Getting the frame size right is about 80% of the battle. The final 20% comes from fine-tuning the components to fit you perfectly.
- Focus on Fit, Not Just Size: Remember that frame size is just the starting point. The final fit is achieved by adjusting saddle height, saddle fore/aft position, stem length and angle, and handlebar width. A bike of the "correct" size can still feel wrong if these contact points aren't adjusted for you.
- Use Your Current Bike as a Benchmark: If you have a bike that you find comfortable, measure it carefully. Measure its seat tube length, effective top tube length, and standover height. Look up its geometry chart online to find its stack and reach. Use these numbers as your "golden measurements" when comparing new bikes.
- Consider Your Flexibility: Your personal flexibility plays a huge role in bike fit. If you have tight hamstrings, a frame with a very long reach and low stack will likely feel uncomfortable, as it forces you into a deep forward bend. If you're very flexible, you might enjoy this aggressive, aerodynamic position. Be honest about your body's limitations.
- The Test Ride is King: Data and measurements are fantastic, but nothing replaces the real-world feel of riding a bike. If at all possible, try to test ride the size you're considering. Even a short ride around a car park can tell you a lot about whether the bike feels balanced, cramped, or too stretched out.
How Do I Measure Bicycle Frame Size FAQ
Is bike frame size the same as wheel size?
Does frame size matter for an electric bike?
Can I make a bike that's the wrong size fit me?
What's more important, standover height or top tube length (reach)?
Final Checklist for Measuring Bicycle Frame Size
- Accurate Inseam Measured: You have used the book-and-wall method, not your trouser size.
- Bike Type Confirmed: You are using the correct formula or sizing context for a road, mountain, or hybrid bike.
- Manufacturer's Chart Consulted: You have found the specific size guide for the exact brand and model you are considering.
- Standover Height Verified: You have confirmed there is enough safe clearance between you and the top tube.
- Reach and Stack Considered: For close comparisons, you have looked at the bike's geometry chart to understand its riding position.
- Test Ride Performed: If possible, you have taken the bike for a short spin to check the real-world feel.