How Do I Remove Bicycle Pedals
This guide explains how to approach how do i remove bicycle pedals, including the preparation, practical steps, common mistakes, and final checks that help you finish with confidence.
Before You Start
Gathering the right tools and understanding the key safety checks will make this job much smoother. A little preparation now prevents a lot of frustration later, especially if your pedals haven't been removed in a long time.
What You Need
Safety, Timing, or Context Checks
Step-by-Step Instructions
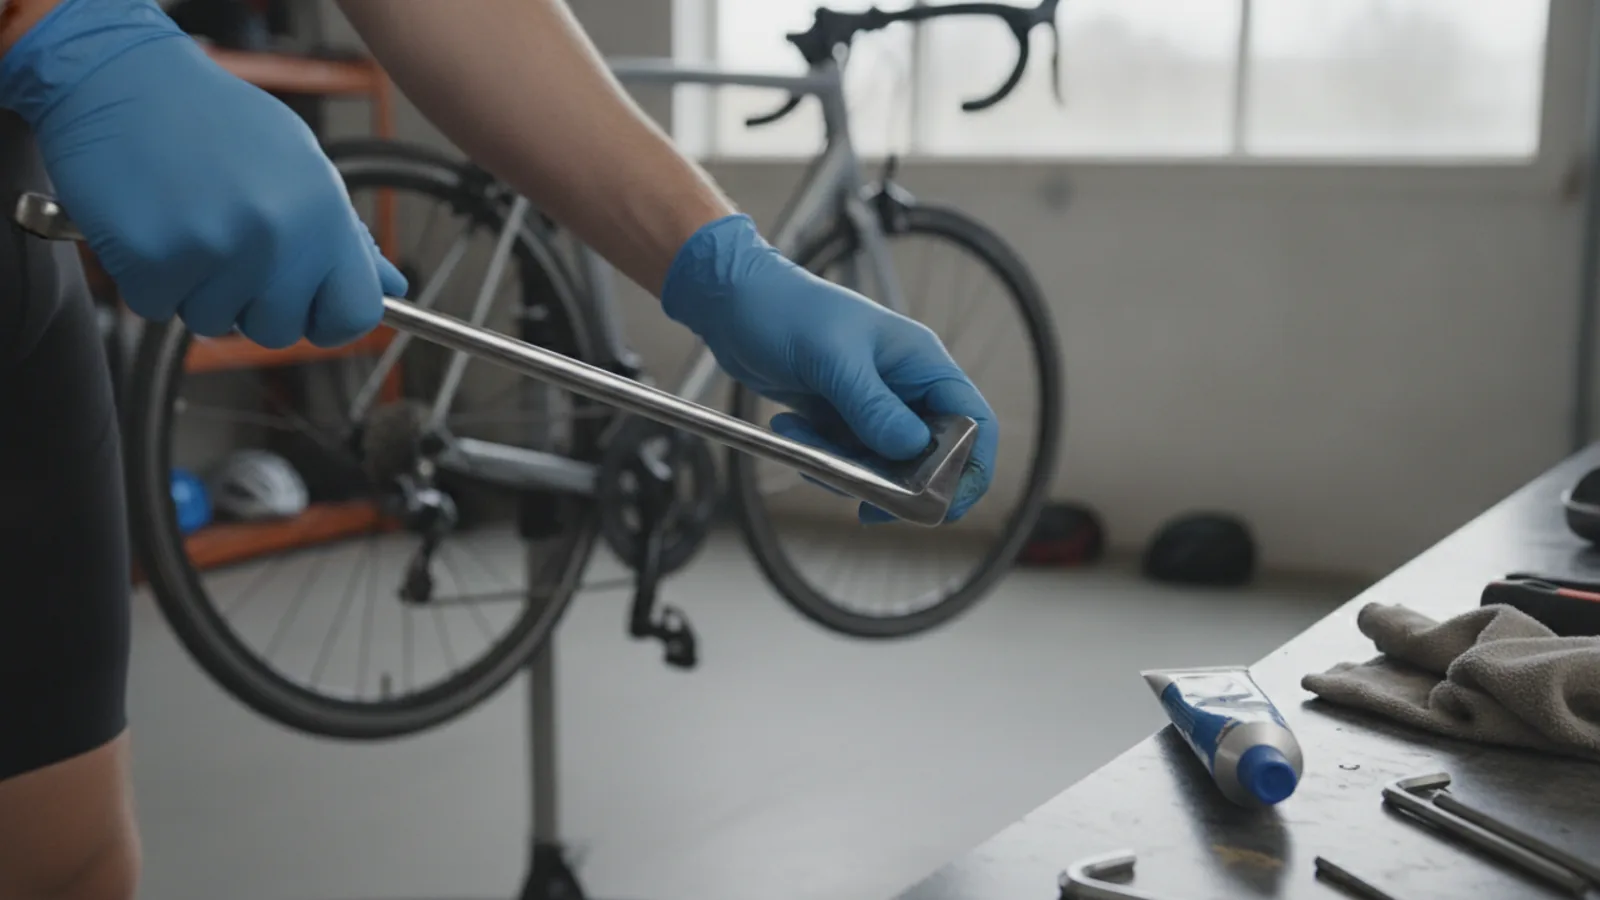
Follow these steps methodically for a smooth removal process. We'll start with the right-side pedal, which uses a standard thread, to build your confidence before tackling the reverse-threaded left side.
Quick Reference
Common Problems When You Remove Bicycle Pedals
Even a straightforward job can present challenges. Here are solutions to the most common issues you might encounter.
The Pedal is Completely Seized
This is the most frequent problem, usually caused by a combination of corrosion, dirt, and pedals being installed without grease. As mentioned in the steps, your first line of defence is penetrating oil and leverage. If that fails, a more advanced technique is to use heat. Gently warming the crank arm around the pedal axle with a heat gun can cause the aluminium crank to expand slightly more than the steel pedal axle, helping to break the bond. This should be done with extreme caution to avoid damaging the paint finish or any nearby carbon fibre components.
The Spanner Keeps Slipping
If your spanner is slipping off the pedal flats, stop immediately. Continuing will round off the flats, making removal nearly impossible. The cause is usually one of three things: a low-quality or worn tool, a spanner that's too thick and not fully seated, or dirt packed onto the flats. Ensure the flats are clean and use a proper pedal spanner, which is designed to be thin and strong. For Allen key fittings, make sure the socket is completely clean of mud and grit before inserting the key.
I Stripped the Allen Key Socket
Rounding out the hexagonal socket on the inside of the pedal axle is a frustrating problem. If it's not too badly damaged, you might be able to hammer a slightly larger Torx bit into the socket to get a grip. In more severe cases, you may need to resort to cutting a slot into the axle with a Dremel tool to use a large flathead screwdriver, or use a screw extractor kit. Often, at this point, it's best to consult a bike shop, as they have specialised tools for these situations.
Advanced Tips for Removing Bicycle Pedals
Once you've mastered the basics, these tips will help you work like a pro and extend the life of your components.
How Do I Remove Bicycle Pedals FAQ
Final Checklist for Removing Bicycle Pedals
Before you finish, run through this quick checklist to ensure you've done everything correctly and set yourself up for success next time.
FAQ
What should I check before I start?
Check the goal, the key prerequisite, and any current instructions that could change the safest next step for how do i remove bicycle pedals.
How can I tell whether the result is working?
Use the practical checks in the guide, pause if a required step is unclear, and verify the finished result against the intended outcome.