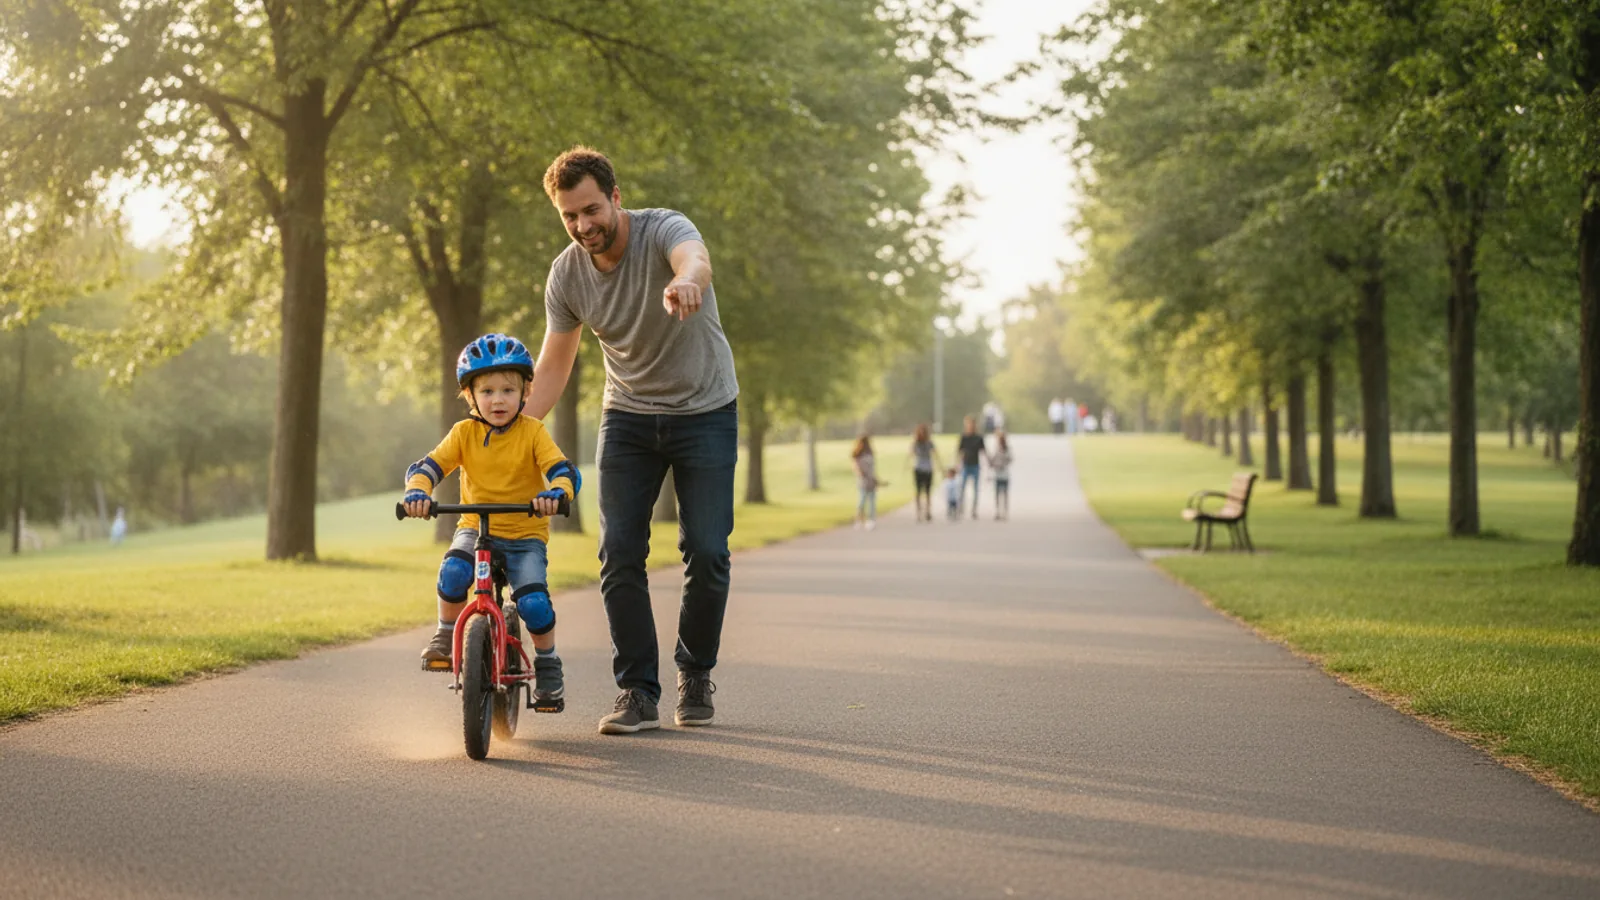
How Do I Teach My Son To Ride A Bike
Teaching your son to ride a bike is a memorable milestone, but it can feel daunting. This guide provides a clear, step-by-step method that skips the wobbly stabilisers and focuses on the most crucial skill: balance. By temporarily turning his pedal bike into a balance bike, you can build his confidence and get him riding independently, often in just a few short sessions. This process makes learning fun, reduces tears, and sets him up with a solid foundation for a lifetime of cycling.
Fast Answer
- Key Action: Remove the pedals from his bike to focus solely on balance.
- Main Focus: Master gliding with feet up before you even think about pedalling.
- Best Location: A wide, open space with a very gentle grassy slope.
- Your Role: Support your son by holding his torso, not the bike's handlebars or saddle.
Before You Start
Proper preparation is the secret to a smooth and successful first lesson. Taking ten minutes to get the bike and the environment right will save you hours of frustration. It ensures your son is safe, comfortable, and set up to succeed from the very first push.
What You Need
- A correctly sized bike: When your son is sitting on the saddle, the balls of his feet should be firmly on the ground. If he's on tiptoes, the bike is too big for this learning phase.
- A properly fitted helmet: It should be snug, level on his head (not tilted back), and the straps should form a 'V' shape just under his ears.
- Basic tools: You will likely need a 15mm spanner or a 6mm or 8mm Allen key to remove the pedals. Check the bike's manual if you're unsure.
- A suitable location: Find a large, open, and flat grassy area, ideally with a very gentle downward slope. Grass provides a softer landing than pavement.
- Patience and positivity: Your attitude is the most important tool you have. Bring plenty of encouragement and be ready to stop before he gets tired or upset.
Safety, Timing, and Context Checks
- Check the brakes: Before you start, make sure the brake levers are easy for his small hands to reach and pull. Test that they effectively stop the wheels.
- Tyre pressure: Ensure the tyres are properly inflated. Firm tyres make it much easier to scoot and glide.
- Choose the right moment: Don't try to teach him when he's hungry, tired, or distracted. A well-rested, positive child will learn much faster.
- Dress for success: Sturdy shoes like trainers are a must. Avoid open-toed sandals or Crocs. Trousers will offer more protection than shorts if he does take a small tumble.
Step-by-Step Instructions
Follow these steps in order. Don't rush to the pedalling stage. The time spent mastering balance is what makes this method so effective. Celebrate every small bit of progress, from a simple scoot to a two-second glide.
Prepare the Bike: Remove Pedals and Lower the Saddle
The first step is to transform his regular bike into a balance bike. Use your spanner or Allen key to remove both pedals. Remember that the left-side pedal (on the non-chain side) is reverse-threaded, so you'll need to turn it clockwise to loosen it ("righty-loosey"). The right-side pedal is standard ("lefty-loosey").
Once the pedals are off, lower the saddle so that your son can sit comfortably with both feet flat on the ground and a slight bend in his knees. This gives him complete control and the confidence that he can stop himself at any time.
Get Comfortable: Walk, Steer, and Stop
Now, let your son simply walk around with the bike between his legs. The goal here is just to get a feel for the bike's weight and how it leans. Encourage him to walk in straight lines and then in wide circles, steering with the handlebars.
This is also the perfect time to teach the most important safety skill: how to use the brakes. Have him walk a few steps and then pull the brake levers to come to a halt. Make a game of it, shouting "Stop!" and seeing how quickly he can react. Practise this until he can stop confidently without thinking about it.
Learn to Balance: Scoot and Glide
This is the core of the entire process. Move to your gentle grassy slope. Ask your son to sit on the bike and start walking down the slope. As he gains a little momentum, encourage him to take bigger, longer strides—more like a scooter than a walk.
As he gets more comfortable, challenge him to lift both feet off the ground for just a second or two between strides. He's now gliding! The first few times might be wobbly, but his brain will quickly start to figure out how to make tiny steering adjustments to stay upright. Your role is to walk or jog alongside, offering encouragement and a steadying hand on his back if needed. Resist the urge to hold the bike itself.
Look Forward and Steer Through a Course
A common mistake for new riders is staring down at their feet or the front wheel. This throws off their balance. Once he can glide for a few metres consistently, remind him to look up and ahead to where he wants to go. Say "Look at me!" or "Look at that big tree!" to get his chin up.
To reinforce this, set up a simple obstacle course using shoes, jumpers, or plastic cups as markers. Place them far apart at first and ask him to glide and steer between them. This forces him to look ahead to the next marker and naturally teaches him how to control the bike by leaning and steering.
Re-introduce Pedalling: The One-Pedal Method
When your son can confidently glide the length of your chosen slope, control his steering, and stop with the brakes, it's time to think about pedals. But don't put both on at once. Start by installing just one pedal, usually on his dominant foot's side (ask him which foot he'd use to kick a ball).
Have him push off as usual, glide, and then try to find the single pedal with his foot and rest it there. This takes away the pressure of coordinating both feet. Let him practise this a few times until he can reliably place his foot on the pedal mid-glide. This simple step bridges the gap between gliding and full pedalling.
The First Pedal Stroke: Attach the Second Pedal
Now for the big moment. Attach the second pedal. Before he gets on, show him the "power position" for starting. Have him rotate the pedals so one is at the 2 o'clock position, high and forward. This is the best position to get maximum push for his first stroke.
Raise the saddle slightly, so that with his foot on the pedal at its lowest point, his leg is almost straight but has a slight bend. Have him sit on the bike, put his foot on the high pedal, and hold the brakes. Stand behind him, placing your hands on his shoulders or upper back. Say "3, 2, 1, Go!", have him release the brakes, and push down hard on that first pedal. As he starts moving, give him a gentle, steady push forward to help him get enough speed to be stable.
Practise Makes Permanent: Starting, Stopping, and Turning
He's riding! The next few sessions are all about refining his new skills. Focus on two things: starting independently and stopping safely. Have him practise the "power position" start over and over until he can get going without your push.
Then, work on stopping. Ask him to ride towards you and use his brakes to come to a smooth stop, putting one foot down. Once starting and stopping are solid, you can work on sharper turns and riding in figure-eights. The more time he spends on the bike now, the more ingrained and automatic the skills will become.
Quick Reference
| Situation | Use this | Why |
|---|---|---|
| He's scared and won't lift his feet. | Stay on a flat area and play "scooting" games. | It builds confidence without the pressure of a slope or speed. Control comes first. |
| He wobbles uncontrollably when pedalling. | Encourage him to pedal a little faster. | Speed creates stability. A bike is much harder to balance at very low speeds. |
| He can't get started on his own. | Practise the "power position" start (pedal at 2 o'clock). | This maximizes leverage on the first pedal stroke, making it easier to generate momentum. |
| He keeps crashing into things. | Remind him to "look where you want to go". | The bike naturally follows your eyes. Staring at an obstacle almost guarantees you'll hit it. |
Common Problems When You Teach Your Son To Ride A Bike
Even with the best method, you might hit a few bumps in the road. Here’s how to handle the most common issues without derailing the lesson.
- Frustration or Tears: This is the number one sign that it's time to stop for the day. Learning should be fun. Forcing it when he's frustrated will only create a negative association with the bike. End on a positive note, even if it's just a successful two-foot glide, and tell him how well he did. Try again tomorrow or the day after.
- Giving Up Too Quickly: If he wants to stop after only five minutes, try to negotiate a small, achievable goal. "Okay, let's just do three more glides down the hill, and then we can go play football." This teaches perseverance without turning it into a battle of wills.
- The "Death Grip" on the Handlebars: If his arms are locked straight and his knuckles are white, he's too tense. Get him to stop, shake out his arms, and relax his shoulders. Remind him that steering comes from gentle movements, not brute force.
- He Forgets About the Brakes: In the excitement of pedalling, some kids forget how to stop and resort to dragging their feet. Before each session, do a quick "brake check" game where you call out "Stop!" and he has to pull the levers. Repetition builds muscle memory.
Advanced Tips for a Confident Rider
Once your son has mastered the basics of starting, stopping, and turning, you can introduce these skills to make him a more capable and safer cyclist.
- Standing Pedalling: Teach him how to stand up on the pedals for a few seconds at a time while riding. This is a crucial skill for getting up steep hills or riding over small bumps in the path. Start on a soft, flat surface.
- Shoulder Checks: Once he's very stable, teach him to glance over his shoulder while riding in a straight line. This is a vital safety skill for when he eventually rides near roads or other people. Make it a game: "Ride past me and tell me how many fingers I'm holding up!"
- Riding on Different Surfaces: Let him experience how the bike feels on different terrain. Move from grass to a smooth tarmac path, then perhaps a gentle gravel track. Each surface requires slightly different inputs and teaches him to be an adaptable rider.
- Emergency Braking: On a safe, grassy area, have him get up to a reasonable speed and then practise a hard stop. He needs to learn how to modulate the brakes, applying firm, even pressure to both without locking the wheels and skidding.
How Do I Teach My Son To Ride A Bike FAQ
What is the best age to teach my son to ride?
Should I use stabilisers?
How long will it take?
What if he falls?
This method isn't working for us. What now?
Final Checklist for Teaching Your Son To Ride A Bike
You're ready to go. Before you head out the door, run through this final checklist to ensure you have everything you need for a fun, safe, and successful lesson.
- The bike's saddle is set to the correct height (feet flat on the ground for gliding).
- The pedals are removed and stored safely.
- The helmet is on, fitted correctly, and the strap is fastened.
- You have chosen a safe, open space with a gentle grassy slope.
- You've packed your own patience and positive attitude.
- You are committed to focusing on balance first via scooting and gliding.
- You will support your son's body, not the bike.
- You are ready to end the session on a high note, before he gets tired or frustrated.
- You will celebrate every small victory along the way!