How Do You Remove Bicycle Pedals
This guide explains how to approach how do you remove bicycle pedals, including the preparation, practical steps, common mistakes, and final checks that help you finish with confidence.
Before You Start
Preparation is key to a smooth and successful pedal removal. Taking a moment to gather the right tools and understand the task will prevent frustration and potential damage to your bike. The most important thing to internalise before you touch a tool is that your two pedals loosen in opposite directions.
What You Need
Step-by-Step Instructions
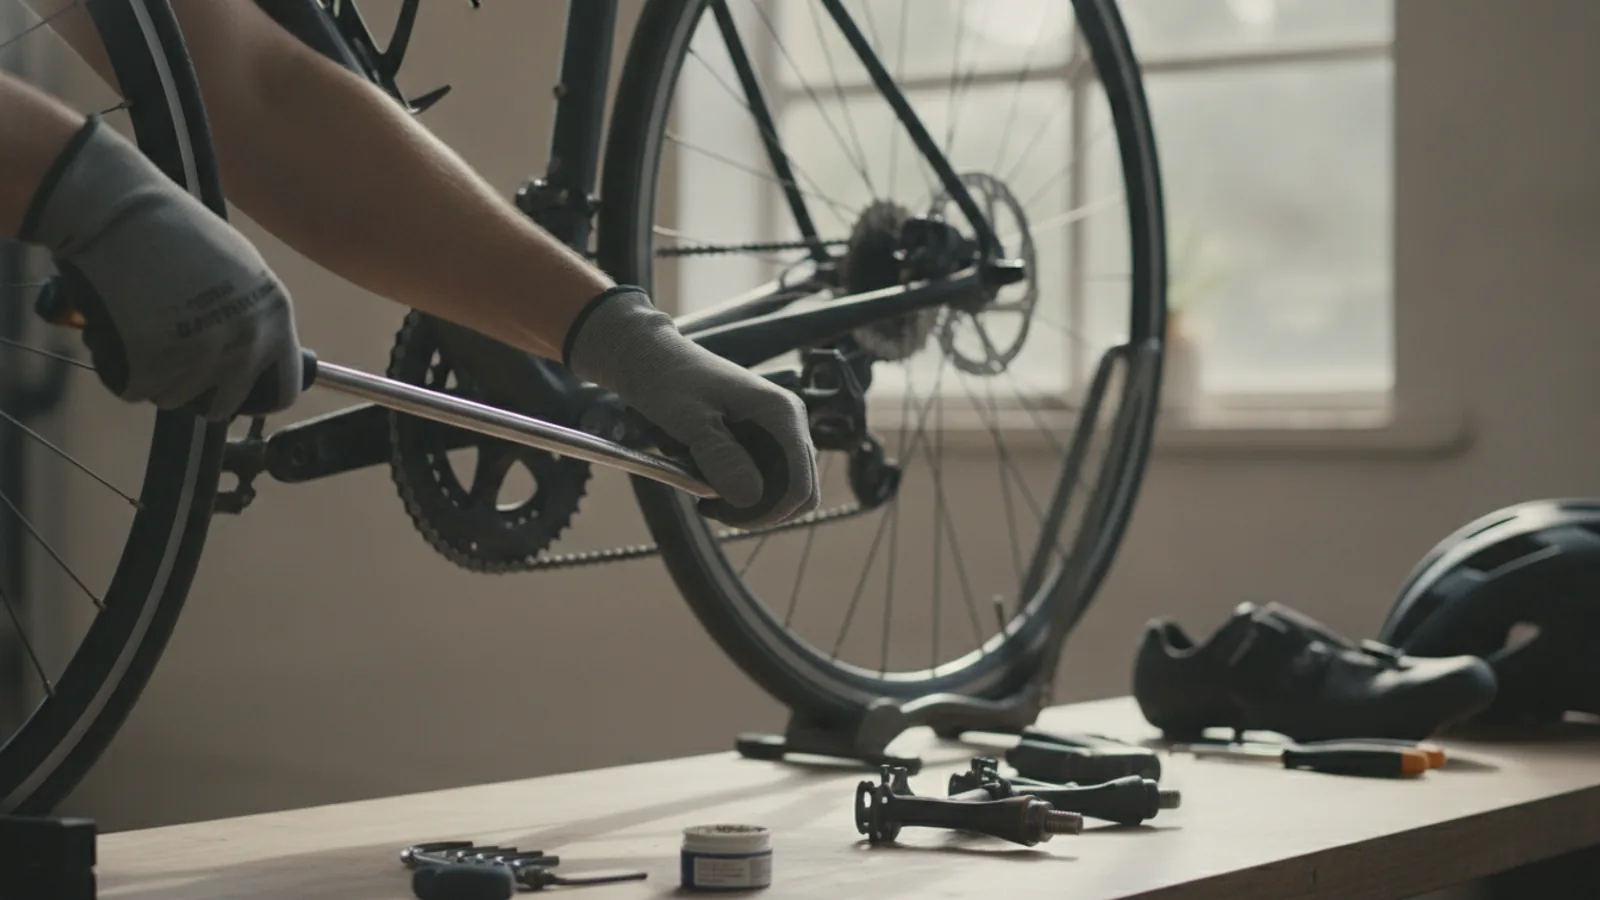
Follow these steps in order for a safe and efficient pedal removal. We'll start with the right-side pedal, which uses a standard thread, to build your confidence before tackling the reverse-threaded left side.
Quick Reference
Common Problems When You Remove Bicycle Pedals
Even a simple job can have its frustrations. Here are the most common issues you might encounter when removing pedals and how to solve them.
The Pedal is Completely Seized
This is the number one problem, especially on older bikes or those ridden in wet weather. The pedal axle has likely corroded and bonded with the aluminium crank arm. First, double-check you are turning it the correct way! If you are, apply a generous amount of penetrating oil to the area where the pedal axle enters the crank. Let it sit for at least 15-30 minutes, or even overnight if it's really stuck. Then, try again. You can also try increasing your leverage. A proper pedal wrench is long for this reason, but you can carefully slide a metal pipe over the handle of your wrench (a 'cheater bar') to give you more power. Be very careful when doing this, as too much force can cause the tool to slip violently.
The Wrench or Hex Key Keeps Slipping
This usually happens for two reasons: a low-quality tool or worn-out surfaces on the pedal axle. Cheap tools often have soft metal and poor tolerances, causing them to slip and round off the flats. A good quality, purpose-built pedal wrench will have a tight, secure fit. If the hex socket or wrench flats are already rounded, your best option is to try and get a better grip. For a hex socket, you can sometimes hammer a slightly larger Torx bit into the stripped socket to get a purchase. For rounded flats, a large pair of locking pliers (vice-grips) might be your last resort, but they will likely destroy the pedal axle in the process.
You've Scraped Your Knuckles
A classic cycling injury. This happens when a stuck pedal suddenly breaks free and your hand flies forward into the sharp chainring. The best prevention is preparation: shift into the big chainring beforehand to act as a guard, wear gloves, and position your body so you are pulling or pushing the wrench in a controlled manner, braced for the sudden release of tension.
Advanced Tips for Removing Bicycle Pedals
Once you've mastered the basics, here are a few extra tips used by professional mechanics for a perfect job every time.
How Do You Remove Bicycle Pedals FAQ
Why is the left bicycle pedal reverse-threaded?
It's due to a mechanical phenomenon called precession. As you pedal, the force on the bearings causes the pedal axle to want to "walk" or precess in the opposite direction of the crank's rotation. On the right side, this force is clockwise, so a normal anti-clockwise thread tightens against it. On the left side, the force is anti-clockwise, so a reverse (clockwise) thread is needed to keep the pedal from unscrewing itself as you ride.
Can I use a regular 15mm spanner?
You can, but it's often not ideal. Standard spanners are usually thicker than the wrench flats on a pedal axle, so you may not be able to get a secure fit. They are also much shorter than a pedal wrench, giving you less leverage to break a tight pedal free.
What happens if I mix up the left and right pedals during installation?
You won't be able to install them. The 'L' pedal has a reverse thread and will not screw into the 'R' crank arm's standard thread, and vice-versa. If you try to force them, you will cross-thread and destroy the soft aluminium threads inside the crank arm, likely requiring a very expensive replacement.
How often should I remove and regrease my pedals?
For most riders, doing this once a year as part of a general service is plenty. If you frequently ride in the rain, mud, or on salted winter roads, checking them every six months is a good idea to prevent them from seizing.