How Do You Take Off A Bike Pedal
This guide explains how to approach how do you take off a bike pedal, including the preparation, practical steps, common mistakes, and final checks that help you finish with confidence.
Before You Start
Preparation is key to a smooth and safe pedal removal. Taking a moment to gather the right equipment and understand the task will prevent damage to your bike and save you a lot of effort. Most pedals come off easily, but some can be stubbornly seized.
What You Need
Safety, Timing, and Context Checks
Before applying any force, double-check your setup. Position the bike securely against a wall or, ideally, in a bike workstand. For safety, shift your chain onto the largest front chainring. This creates a barrier between the sharp teeth of the chainring and your knuckles if your hand slips.
The most critical check is understanding the pedal threads. Bike pedals are specific to the left and right sides to prevent them from unscrewing as you ride. This means their threads are different.
Step-by-Step Instructions
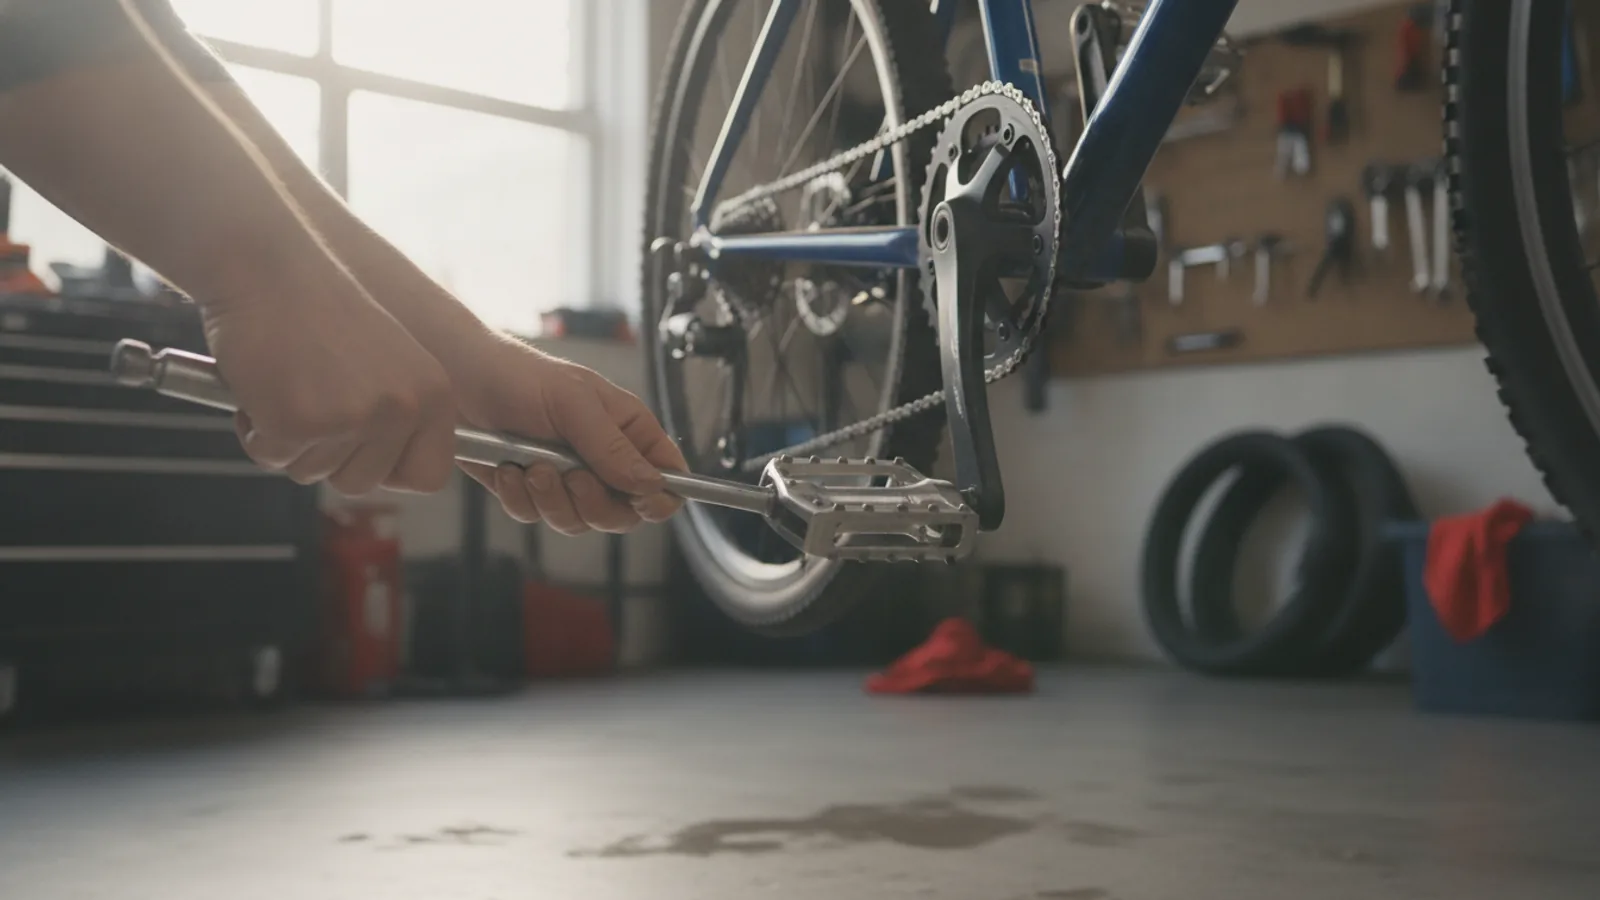
Follow this sequence carefully for a successful removal. We'll start with the right-hand, or driveside, pedal as it uses a standard thread that most people are familiar with.
Quick Reference
Common Problems When You Take Off A Bike Pedal
Sometimes, things don't go as planned. Here are solutions to the most common issues you might encounter.
The Pedal is Completely Seized
This is the number one problem, usually caused by pedals being installed without grease or being left for years. The aluminium crank and steel pedal axle can corrode together.
The Hex Socket or Spanner Flats are Stripped
If the tool slips, it can round off the hexagonal socket or the spanner flats, leaving you with nothing to grip. This is often caused by using a poor-quality, worn, or incorrectly sized tool.
You Keep Hitting Your Knuckles
A seized pedal can release suddenly, sending your hand flying into the sharp chainrings. Always wear gloves, and make sure you've shifted the chain onto the largest chainring before you start. Brace yourself and apply force in a controlled manner, anticipating the moment it breaks loose.
Advanced Tips for Taking Off a Bike Pedal
Once you've mastered the basics, these tips can make the job even easier and help you care for your bike like a professional.
Understanding Precession
Ever wondered why the left pedal is reverse-threaded? It's not just a random design choice. It's because of a mechanical phenomenon called precession. As the crank turns, the pressure of your foot causes the pedal axle to try and "walk" or roll inside the threads. On the right side, this force is clockwise, so an anti-clockwise thread tightens against it. On the left, the force is anti-clockwise, so a clockwise (reverse) thread is needed to keep the pedal from loosening as you ride.
The Importance of a Torque Wrench for Installation
While most cyclists tighten pedals until they feel "good and tight," components have manufacturer-recommended torque specifications for a reason. Overtightening can damage the threads, while under-tightening can cause the pedal to loosen and make an annoying clicking sound. Most pedals should be tightened to 35-40 Newton-metres (Nm). Using a torque wrench for installation ensures they are perfectly secure and won't be impossibly tight to remove next time.
Using Anti-Seize Compound
While standard bike grease is good, anti-seize compound is even better for pedal threads. This is a special type of grease containing particles of metal like copper or aluminium. It's specifically designed to prevent two different types of metal (like your steel pedal axle and aluminium crank arm) from bonding together through galvanic corrosion. A small dab on the threads before installation is the best insurance against a seized pedal in the future.
How Do You Take Off A Bike Pedal FAQ
Final Checklist for Taking Off a Bike Pedal
Before you finish, run through this quick checklist to ensure you've done everything correctly and are set up for an easy job next time.
By following these steps, you've successfully removed your pedals. This simple piece of maintenance opens the door to upgrades, easier travel, and a better-cared-for bicycle.
FAQ
What should I check before I start?
Check the goal, the key prerequisite, and any current instructions that could change the safest next step for how do you take off a bike pedal.
How can I tell whether the result is working?
Use the practical checks in the guide, pause if a required step is unclear, and verify the finished result against the intended outcome.