How Do You Take Off Bike Pedals
This guide explains how to approach how do you take off bike pedals, including the preparation, practical steps, common mistakes, and final checks that help you finish with confidence.
Before You Start
Gathering the correct tools and understanding a couple of key principles will make removing your bike pedals a safe and straightforward task. Preparation is the difference between a five-minute job and a frustrating afternoon.
What You Need
Safety, Timing, or Context Checks
Before you apply any force, take a moment to set yourself up for success. Most problems happen when people rush this part.
Step-by-Step Instructions
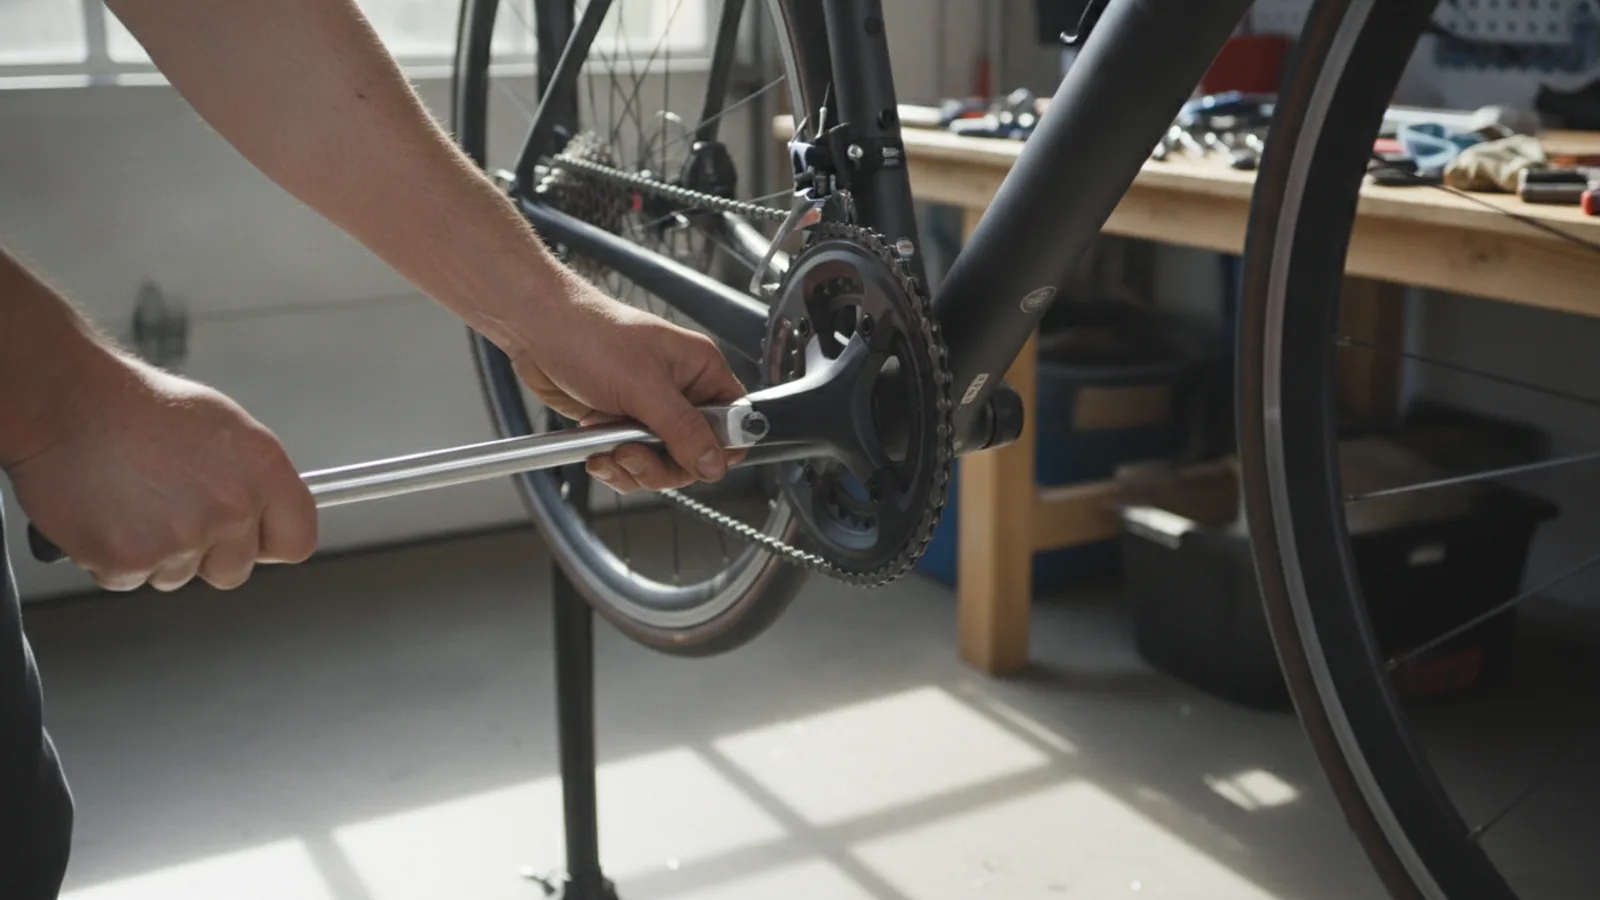
Follow these steps in order, starting with the driveside (the side with the chain). This helps build a rhythm and makes the reverse-threaded left pedal less confusing.
Quick Reference
Common Problems When You Take Off Bike Pedals
Even a simple job can have its hitches. Here are solutions to the most common issues you might encounter.
The Pedal is Completely Seized and Won't Budge
This is the number one problem, usually caused by a combination of dirt, water, corrosion, and the pedal being installed without grease. Don't panic, and don't apply so much force that you hurt yourself or break something.
You've Rounded Off the Spanner Flats or Allen Socket
This happens when the tool isn't a perfect fit or slips under pressure. At this point, standard tools won't work. The pedal is now very difficult to remove. Your best bet is to take the bike to a local bike shop. They have specialised tools, such as locking wrenches or stud extractors, that can grip the damaged axle and remove it without destroying your crank arm.
You Keep Bashing Your Knuckles
A painful rite of passage for many home mechanics, but easily avoidable. This is almost always caused by the tool slipping or the pedal suddenly breaking free when you're pulling upwards.
Advanced Tips for Taking Off Bike Pedals
Once you've mastered the basics, these tips will help you work like a pro and keep your bike in top condition.
Mastering Leverage and Body Position
Instead of just using arm strength, use your whole body. Stand over the bike with one foot on the opposite pedal to keep the bike from moving. Lean your body weight onto the spanner. This provides steady, powerful, and controlled force that is far more effective and safer than just yanking on the tool with your arms.
The Importance of Grease on Reinstallation
The number one reason pedals become seized is because they were installed dry. Metal-on-metal contact, especially with different types of metal like a steel pedal axle in an alloy crank arm, can lead to galvanic corrosion. The two parts essentially fuse together over time.
To prevent this, always apply a thin, even layer of waterproof bike grease or anti-seize compound to the pedal threads before you screw them back in. This creates a protective barrier against moisture and ensures you'll be able to remove them easily next time.
Identifying Pedals for Reinstallation
When you're ready to put pedals back on, how do you know which is which? Look closely at the end of the pedal axle. Most are stamped with an 'L' for the left side and an 'R' for the right side. Installing them on the wrong side will damage the threads in your crank arms, an expensive mistake to fix. Remember to turn the right pedal clockwise to tighten and the left pedal anti-clockwise to tighten.
How Do You Take Off Bike Pedals FAQ
Why is the left bike pedal reverse threaded?
It’s a clever piece of engineering to stop your pedal from falling off while you ride. The phenomenon is called mechanical precession. As the crank rotates, the pressure from your foot causes the pedal axle to try and "walk" or roll in the opposite direction within the threads. On the left side, this force is anti-clockwise. By making the thread reverse (clockwise to tighten), this precession force actually works to keep the pedal tight, not loosen it.
Can I use a regular adjustable spanner?
It's highly discouraged. Most standard or adjustable spanners are too thick to fit properly onto the narrow pedal axle flats. Trying to use one at an angle will likely slip and round off the flats. A purpose-built 15mm pedal spanner is thin, strong, and provides the best possible fit, making it a worthwhile investment for any home mechanic.
What happens if I install the pedals on the wrong sides?
You won't be able to screw them in all the way because the threads won't match (trying to fit a reverse thread into a standard thread hole). If you try to force them, you will strip the soft aluminium threads inside your crank arms. This can permanently damage the cranks, often requiring a full replacement. Always check for the 'L' and 'R' markings before installation.
Final Checklist for Taking Off Bike Pedals
Before you pack up your tools, run through this quick checklist to ensure you've done the job correctly and set yourself up for future success.
Congratulations, you've successfully removed your bike pedals. It's a simple skill that opens the door to more advanced bike maintenance and customisation.