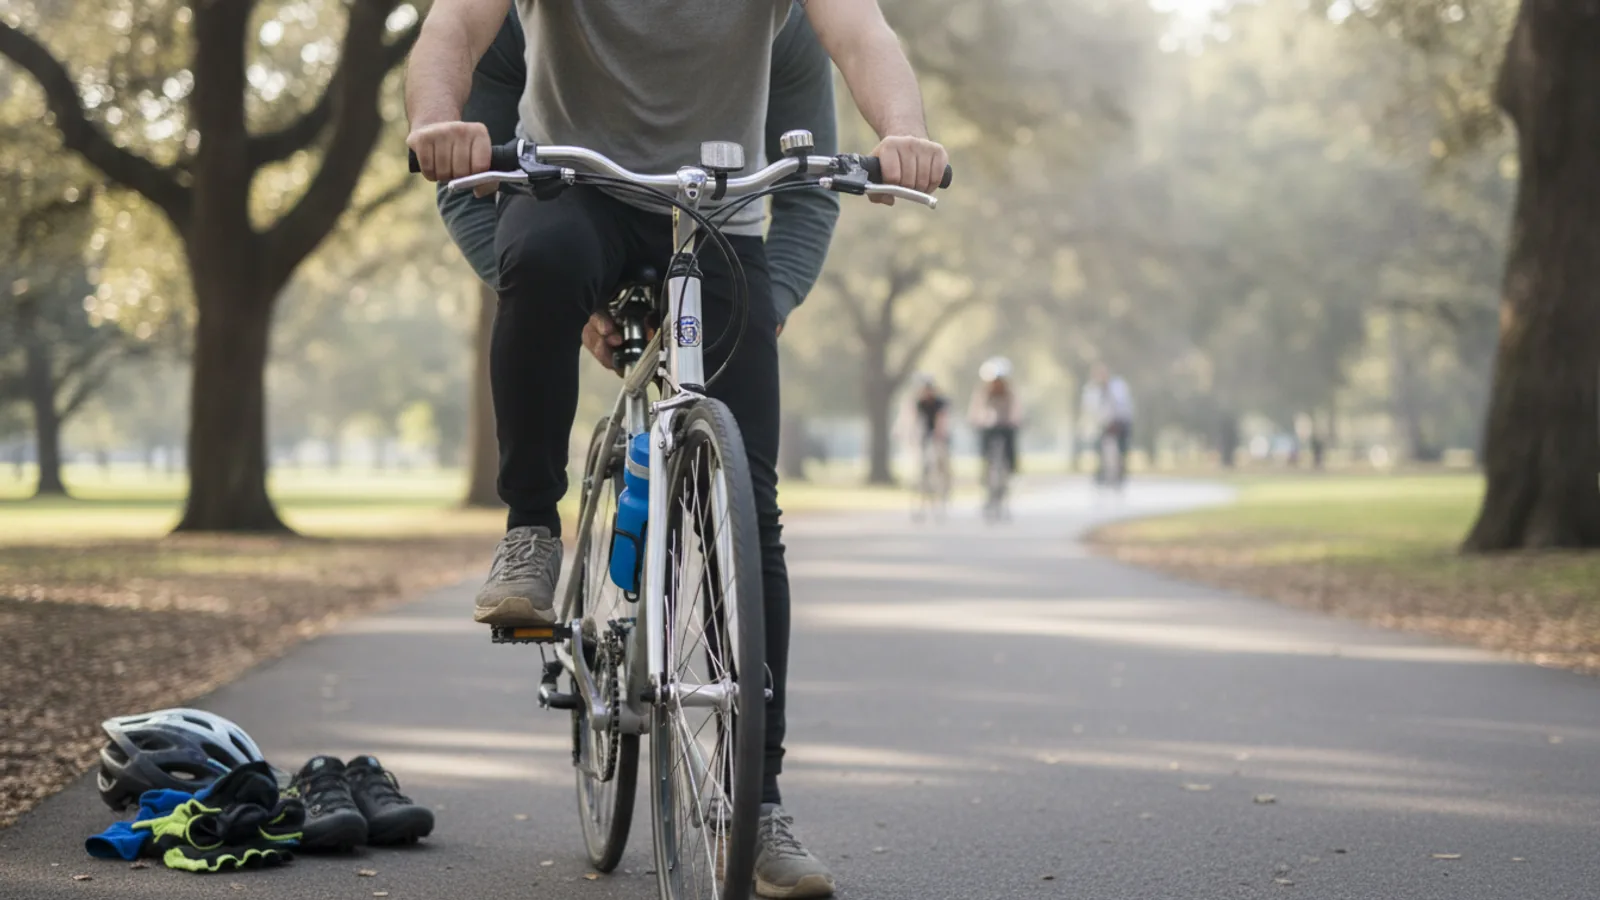
How Ride Bike
Learning to ride a bike is a rewarding skill that unlocks freedom and fitness at any age. This guide breaks down the process into simple, manageable steps, removing the fear and frustration often associated with learning. We focus on the most crucial element—balance—before even touching the pedals. This method is proven to be the fastest and most effective way to get you cycling with confidence, whether you're a complete beginner or trying again after a long break.
Fast Answer
- Key Principle: Balance first, pedalling second.
- Preparation: Lower the saddle so your feet are flat on the ground. Remove the pedals.
- First Action: Scoot and walk the bike to get a feel for its balance.
- Next Goal: Push off and glide with your feet up for several seconds at a time.
- Final Step: Re-attach the pedals and use your gliding momentum to start pedalling.
Before You Start how ride bike
Setting yourself up for success is half the battle. Having the right gear and a suitable location makes the learning process safer, faster, and much more enjoyable. Spend a few minutes on these checks before you begin.
What You Need
- A Suitable Bike: The bike must be the right size for you. You should be able to stand over the top tube with your feet flat on the floor.
- A Helmet: This is non-negotiable. Ensure it fits snugly, sitting level on your head and not tilting back. The straps should form a 'V' shape around your ears.
- A Safe Practice Area: Find a large, flat, open space with a smooth surface. An empty car park, a basketball court, or a quiet, paved park path are all excellent choices. Avoid busy areas and uneven ground like grass, which makes gliding difficult.
- Appropriate Tools: You will likely need a 15mm pedal spanner or an Allen key (usually 6mm or 8mm) to remove the pedals.
- Comfortable Clothing: Wear clothes that allow you to move freely. Avoid baggy trousers that could get caught in the chain. Sturdy, closed-toe shoes like trainers are essential.
Safety, Timing, or Context Checks
Before you get on, perform a quick "M-check" on the bike's key components. Start at the rear wheel, trace up to the saddle, down to the pedals, up to the handlebars, and down to the front wheel, checking that bolts are tight and everything looks in order. Most importantly, check the brakes.
Step-by-Step Instructions
Prepare the Bike for Learning
The first step is to transform your bicycle into a balance bike. This is the secret to learning quickly. Your goal is to get comfortable with balancing and steering without the complication of pedalling.
First, adjust the saddle height. Loosen the clamp on the seat post and lower the saddle so that you can sit on it with both of your feet placed firmly flat on the ground. Your knees should have a slight bend. This gives you stability and control.
Next, remove the pedals. This is the most important part of the process. Use your pedal spanner or Allen key to unscrew them. Remember the golden rule: the right-side (drivetrain side) pedal has a standard thread (turn anti-clockwise to loosen), but the left-side pedal is reverse-threaded (turn clockwise to loosen). This prevents it from unscrewing as you pedal.
Practise Walking and Scooting
With the pedals off and the saddle lowered, it's time to get a feel for the bike. Get on the saddle and hold the handlebars. Your hands should comfortably reach the grips and the brake levers.
Begin by simply walking the bike forward while seated. Feel how the bike leans and how your small movements affect its stability. Practise using the brakes to come to a gentle stop. Do this for a few minutes until you feel comfortable with the sensation of moving and stopping.
Now, start taking longer, more powerful strides. Push off with your feet and try to lift them for a split second. Think of it as scooting. The aim is to get used to the feeling of having your feet off the ground, even for a moment.
Master the Glide
This is where you truly learn to balance. The goal is to push off and then lift both feet, gliding for as long as you can. This skill is the entire foundation of riding a bike.
Find a long, clear stretch of pavement. Take a few powerful strides and then lift your feet onto an imaginary line extending from the bike's axles. Don't try to put them on the crank arms where the pedals were; just hold them out to the sides. The most critical part of this step is to look ahead. Focus on a point in the distance, not on your feet or the front wheel. Your body will automatically make the tiny adjustments needed to stay balanced if you're looking where you want to go.
Keep practising until you can consistently glide for at least 5 metres without wobbling or putting a foot down. This might take some time, but once it clicks, you've mastered the hardest part of learning to ride.
Steer While Gliding
Once you can glide in a straight line, it's time to learn how to steer. Remember, on a bike, steering is a combination of turning the handlebars and leaning your body. For now, focus on gentle turns.
As you glide, look towards where you want to go and gently push the handlebar in that direction. You'll notice the bike starts to lean into the turn. Try to make wide, smooth 'S' shapes as you glide. You can set up some soft markers, like jumpers or water bottles, to create a simple slalom course. This teaches you that small, subtle inputs are all that's needed to control the bike's direction.
Add the Pedals Back On
When you feel completely confident gliding and steering, you are ready for pedals. Find the pedals you removed earlier. Remember that they are side-specific, often marked with an 'R' and an 'L'.
Screw the right pedal in clockwise and the left pedal in anti-clockwise. Tighten them firmly so they are secure.
Now, you need to raise the saddle. A good starting height for pedalling is where your leg has a slight bend when your heel is on the pedal at its lowest point. You should no longer be able to place your feet flat on the ground while seated; you'll be on your tiptoes. This ensures you can pedal efficiently without your knees coming up too high.
Begin to Pedal
This can feel like the trickiest moment, but your gliding practice has prepared you for it. Find a spot with a very subtle downward slope if possible, as this will help you get moving.
Stand next to the bike and get on the saddle. Hold both brakes. Rotate the crank arm so that one pedal is in the "power position" – forward and slightly high, at about the 2 o'clock position. Place the ball of your foot on this pedal.
Now for the launch sequence: 1. Look ahead. 2. Release the brakes. 3. Push down hard on the pedal. 4. Simultaneously push off the ground with your other foot.
The forward momentum from this initial push should feel familiar from your gliding practice. Your goal now is to lift your other foot onto the second pedal as it comes around. Don't worry about perfect, continuous pedalling at first. Just aim for one successful pedal stroke, then two. Your body already knows how to balance; you just need to add the pedalling motion.
Practise Stopping Safely
Knowing how to stop confidently is just as important as knowing how to go. Now that you are pedalling, you will be moving faster, and stopping requires a bit more care.
The key to a controlled stop is to use both brakes at the same time. Squeeze the front and rear brake levers gently and progressively. Your weight will shift forward as you decelerate. To counteract this, shift your hips back slightly on the saddle. As you come to a stop, prepare to put one foot down on the ground to steady yourself.
Practise stopping from various slow speeds until it becomes second nature. Avoid grabbing a big handful of the front brake only, as this can lock the front wheel and potentially cause a fall, especially on loose surfaces.
Quick Reference
| Situation | Use this | Why |
|---|---|---|
| Feeling wobbly and unbalanced | Look 10-15 metres ahead | Your bike goes where your eyes are looking. Focusing ahead allows your brain to make subconscious balance corrections. |
| Struggling to start smoothly | Set one pedal in the high "power position" before starting | This provides maximum leverage for your first push, helping you get up to a stable speed more quickly. |
| Stopping feels abrupt or unsafe | Squeeze both brake levers gently and evenly | Using both brakes distributes the stopping force, preventing wheel lock-ups and providing a controlled, stable stop. |
| Turning feels awkward | Look through the turn and lean your body slightly | Leaning into the turn is more stable and effective than just turning the handlebars, especially at higher speeds. |
Common Problems When You how ride bike
Even with the best method, you might hit a few bumps in the road. Here are some common issues and how to solve them.
You're Afraid of Falling
This is the most common barrier. Acknowledge the fear, but remember that by using the balance bike method, you have minimised the risk. Your feet are always close to the ground. If you feel you're going to fall, you can simply put your feet down. Wearing elbow and knee pads can also provide a huge confidence boost, allowing you to relax and focus on the technique.
You Can't Get Your Second Foot on the Pedal
This is a timing issue. It happens when you don't have enough initial momentum. Focus on a stronger push-off at the start. Go back to gliding for a few minutes to remind your body what stable momentum feels like. When you try to pedal again, concentrate only on getting one full, powerful pedal stroke. The momentum from that single stroke will give you the time and stability to find the other pedal.
You're Over-Steering and Weaving
Beginners often make big, jerky movements with the handlebars. A bicycle is incredibly sensitive to steering inputs, especially at slow speeds. The solution is to relax your grip and your arms. Try to steer with your body, leaning gently in the direction you want to go, and use the handlebars for tiny corrections only. Remember the rule: look where you want to go.
The Bike Feels Uncontrollable or Uncomfortable
This is almost always a sign of a poor bike fit. If the bike is too big, it will feel intimidating and hard to manage. If it's too small, you'll feel cramped and unstable. Double-check your saddle height. For the initial learning phase, being able to get your feet flat on the ground is key. For pedalling, having the correct leg extension is vital for both power and comfort.
Advanced Tips for how ride bike
Once you can confidently start, stop, and pedal in a straight line, you can start honing your skills.
Look Through Your Turns
When you approach a corner, don't look at the kerb or the ground in front of you. Pick a point on the exit of the corner and keep your eyes fixed on it. This technique, known as 'target fixation', forces your body to naturally guide the bike on the correct path. You'll find your turning becomes much smoother and more intuitive.
Learn to Use Your Gears
If your bike has gears, now is the time to experiment. The basic principle is simple: use lower (easier) gears for climbing hills and higher (harder) gears for riding on flat ground or downhill. Practise changing gears on a flat road. Try to anticipate hills by shifting into an easier gear before you start climbing, not halfway up when you're already struggling.
Practise Standing on the Pedals
Briefly standing up on the pedals (while keeping them level) allows you to use your body weight to absorb bumps in the road, making for a smoother ride. It's also used to generate more power for short bursts of acceleration or for getting up a steep incline. Practise on a flat, smooth surface first until you feel stable.
Learn Basic Hand Signals
Riding is safest when it's predictable. In the UK, there are standard hand signals to indicate your intentions to other road users.
- Turning Left: Extend your left arm straight out to the side.
- Turning Right: Extend your right arm straight out to the side.
- Stopping: Extend your right arm out with your palm facing backwards. (While less common, some riders use an arm raised upwards).
How Ride Bike FAQ
What is the best age to learn to ride a bike?
Should I use stabilisers (training wheels)?
How long does it really take to learn?
What if I keep falling?
Is it better to learn on grass or a hard surface?
Final Checklist for how ride bike
Before every ride, but especially as a beginner, run through this quick mental checklist to ensure you're set up for a safe and successful session.
- Your bike's saddle is set to the correct height for the task (feet flat for gliding, slight leg bend for pedalling).
- Your helmet is on, fitting snugly and with the straps securely fastened.
- You have tested both brakes and confirmed they are working effectively.
- You have chosen a practice area that is flat, smooth, and free from traffic or obstacles.
- You are committed to looking far ahead, not down at your feet or the front wheel.
- You can comfortably glide with your feet up for several metres before attempting to pedal.
- You know how to bring the bike to a smooth, controlled stop using both brakes.
Riding a bike is a skill that stays with you for life. Be patient with yourself, celebrate the small victories, and enjoy the process. Happy cycling!