How To Change Bike Pedals
This guide explains how to approach how to change bike pedals, including the preparation, practical steps, common mistakes, and final checks that help you finish with confidence.
Before You Start
Preparation is key to a smooth and frustration-free experience. Taking a few moments to gather your tools and understand the quirks of pedal threading will save you time and prevent potential damage to your bike's crank arms. Let's get everything in order.
What You Need
Safety and Compatibility Checks
Before you put a tool to your bike, a couple of quick checks are vital. The single most important thing to understand is that your bike's pedals are not threaded identically. This is a deliberate design feature to prevent one of them from unscrewing as you ride.
Step-by-Step Instructions
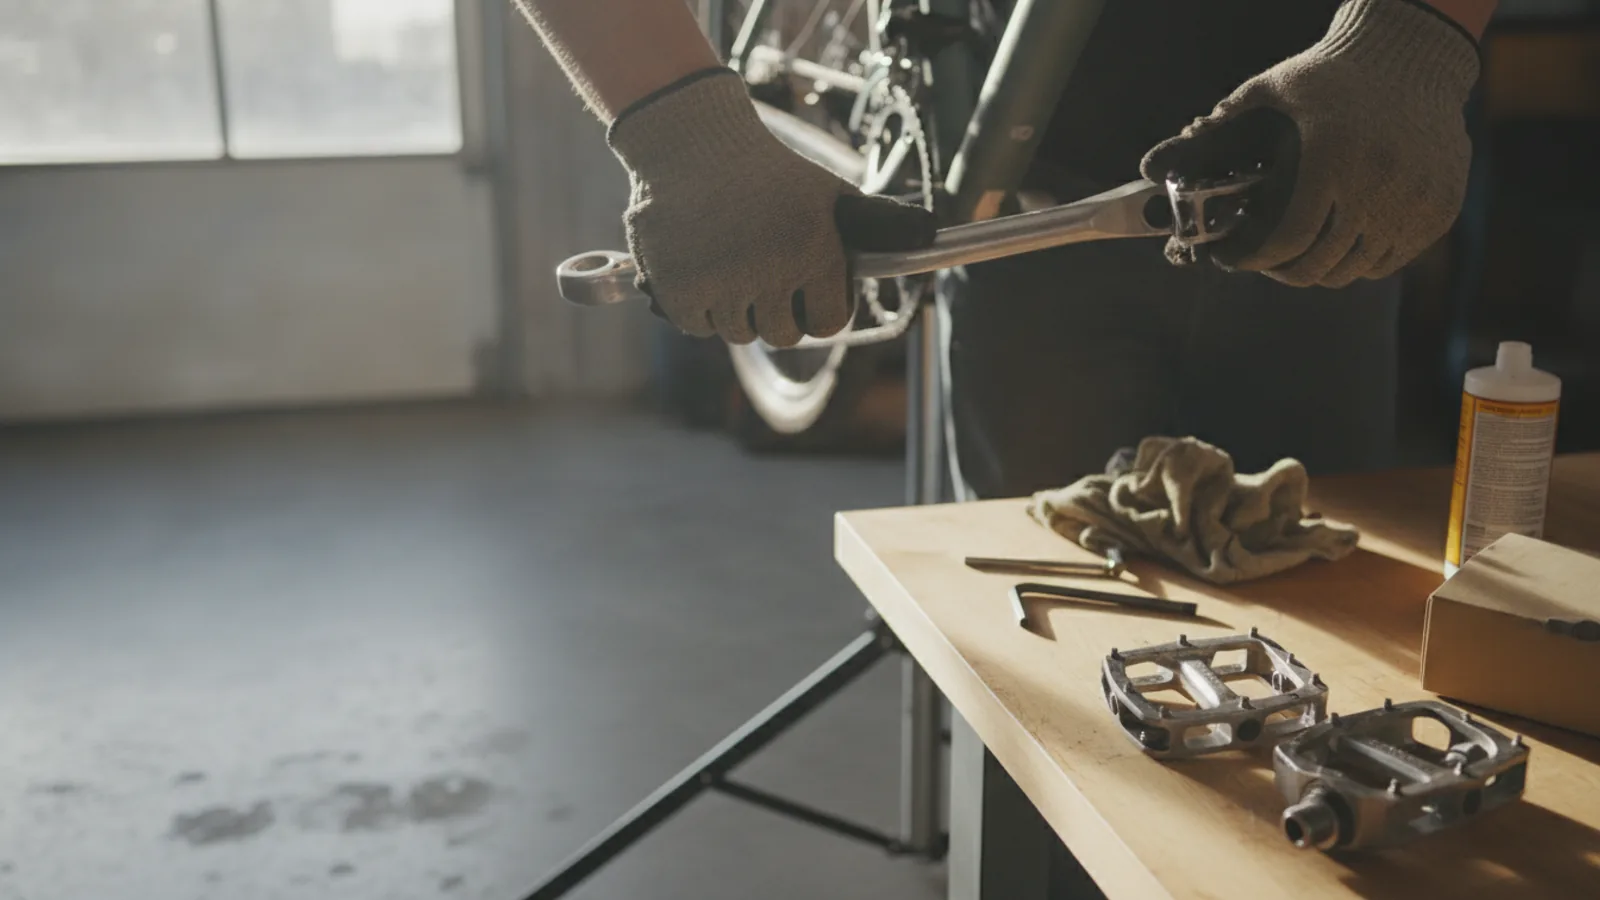
With your tools gathered and your new pedals identified, you're ready to begin. We'll work on one side at a time, starting with the right-hand, or drivetrain, side of the bike.
Quick Reference
Common Problems When You Change Bike Pedals
Sometimes, even a simple job can present challenges. Here are the most common issues you might encounter and how to solve them like a pro.
Problem: The Pedals Are Completely Stuck
This is the number one issue, especially on older bikes or those that had pedals installed without grease. Don't panic. First, double-check you are turning the tool in the correct direction for that side. If you are, you just need more leverage. Try slipping a hollow metal pipe (a "cheater bar") over the handle of your spanner to extend it. If using an Allen key, you might need a model with a longer handle. You can also apply a penetrating oil like WD-40 Specialist Penetrant or PlusGas to the thread area, let it soak for 15-30 minutes, and try again. A few gentle taps on the tool with a rubber mallet can also help break the corrosion bond.
Problem: The New Pedal Won't Screw in Smoothly
Stop immediately. If you feel significant resistance when starting a pedal by hand, it's almost certainly cross-threaded. Forcing it will destroy the soft aluminium threads in your crank arm. Unscrew it completely and inspect both the pedal axle and the crank threads for damage. Clean them again and carefully re-attempt the insertion, paying close attention that the pedal is perfectly straight. If it still won't go, the crank threads may be damaged, which usually requires a visit to a bike shop to have them chased or re-tapped with a special tool.
Problem: My New Pedals Are Creaking
A creak or click that happens on every pedal stroke is incredibly annoying. Ninety percent of the time, this is caused by one of two things: insufficient grease on the threads or insufficient tightness. The fix is simple. Remove the pedals, clean the threads on both the pedal and the crank, apply a fresh, generous layer of grease, and reinstall them, making sure they are firmly tightened to the proper specification.
Advanced Tips for Changing Bike Pedals
Once you've mastered the basics, a few extra details can improve the longevity and performance of your setup.
Using a Torque Wrench
While "firmly tight" is good enough for most, components do have official torque specifications. Most pedals should be tightened to around 35-40 Newton-metres (Nm). Using a torque wrench ensures you hit this target precisely. This is especially important for lightweight or carbon fibre cranksets, where over-tightening can cause catastrophic failure and under-tightening can cause creaking or damage to the threads over time.
Understanding Pedal Washers
Some crank and pedal combinations benefit from a very thin washer between the pedal axle and the crank arm face. These are typically recommended by crank manufacturers (especially for carbon cranks) to protect the finish and distribute the load evenly. They can also be used to make very minor adjustments to your stance width, or "Q-factor". If your old pedals had them, it's a good idea to use them with the new set.
Dealing with Different Axle Standards
While 9/16" is the standard for almost all modern adult bikes, be aware that some older bikes, kids' bikes, and BMX bikes with one-piece "Ashtabula" cranks use a smaller 1/2" thread. The two are not compatible. Always ensure your new pedals match the crankset you have. If you're buying online, the product description will always specify the thread size.
How To Change Bike Pedals FAQ
Final Checklist for Changing Bike Pedals
Before you head out for a ride, run through this quick final check to ensure everything is perfect.
That's it! You've successfully changed your own bike pedals. Enjoy the feel of your new upgrade on your next ride.
FAQ
What should I check before I start?
Check the goal, the key prerequisite, and any current instructions that could change the safest next step for how to change bike pedals.
How can I tell whether the result is working?
Use the practical checks in the guide, pause if a required step is unclear, and verify the finished result against the intended outcome.