How To Choose The Right Bike For Commuting In The City
Choosing a bike for city commuting is less about chasing the fastest or lightest machine and more about matching a simple, durable bicycle to your daily route, storage options, weather, and comfort needs. This guide walks you through defining your ride, testing fit, checking safety features, and setting up your bike so each trip feels predictable and pleasant.
Fast Answer
- Define your commute first: distance, hills, traffic, parking, and whether you carry the bike upstairs or onto transit, then let those facts narrow the style of bike you consider.
- Prioritize a comfortable fit, reliable brakes, sturdy tires, and simple gearing you can use every day rather than rare features you may never need on a short city ride.
Before You Start
- Measure your daily route distance and note the steepest hill, the busiest road, and where you will park the bike at home and at work.
- Decide what you must carry each day, such as a laptop, lunch, rain gear, or groceries, because that choice affects rack mounts, frame shape, and tire width.
- Check your storage and transport limits, including doorway width, stair turns, elevator size, and any rules about bringing a bicycle inside a building.
- Set a realistic budget for the bike plus essential add-ons like lights, a lock, fenders, and a rack, and write down what you can spend in total.
Step-by-Step Instructions
Match the bike to your daily route
Start by writing down the facts of your commute: total distance, steepest climb, road surface, traffic density, and where the bike will rest during the day. A short, flat ride on smooth streets favors a simple, upright bicycle with a comfortable seat and wide, stable tires. A longer or hillier route may call for lighter weight, more gear choices, or a frame that lets you lean forward for efficient pedaling. If part of the trip uses public transit, check the size and folding rules before you fall in love with a full-size model. The check here is honest distance and terrain, because a bike that is perfect for two flat kilometers may feel heavy and slow at eight kilometers with a hill. Write your route facts on paper and compare every candidate against them rather than against marketing language.
Test frame fit before anything else
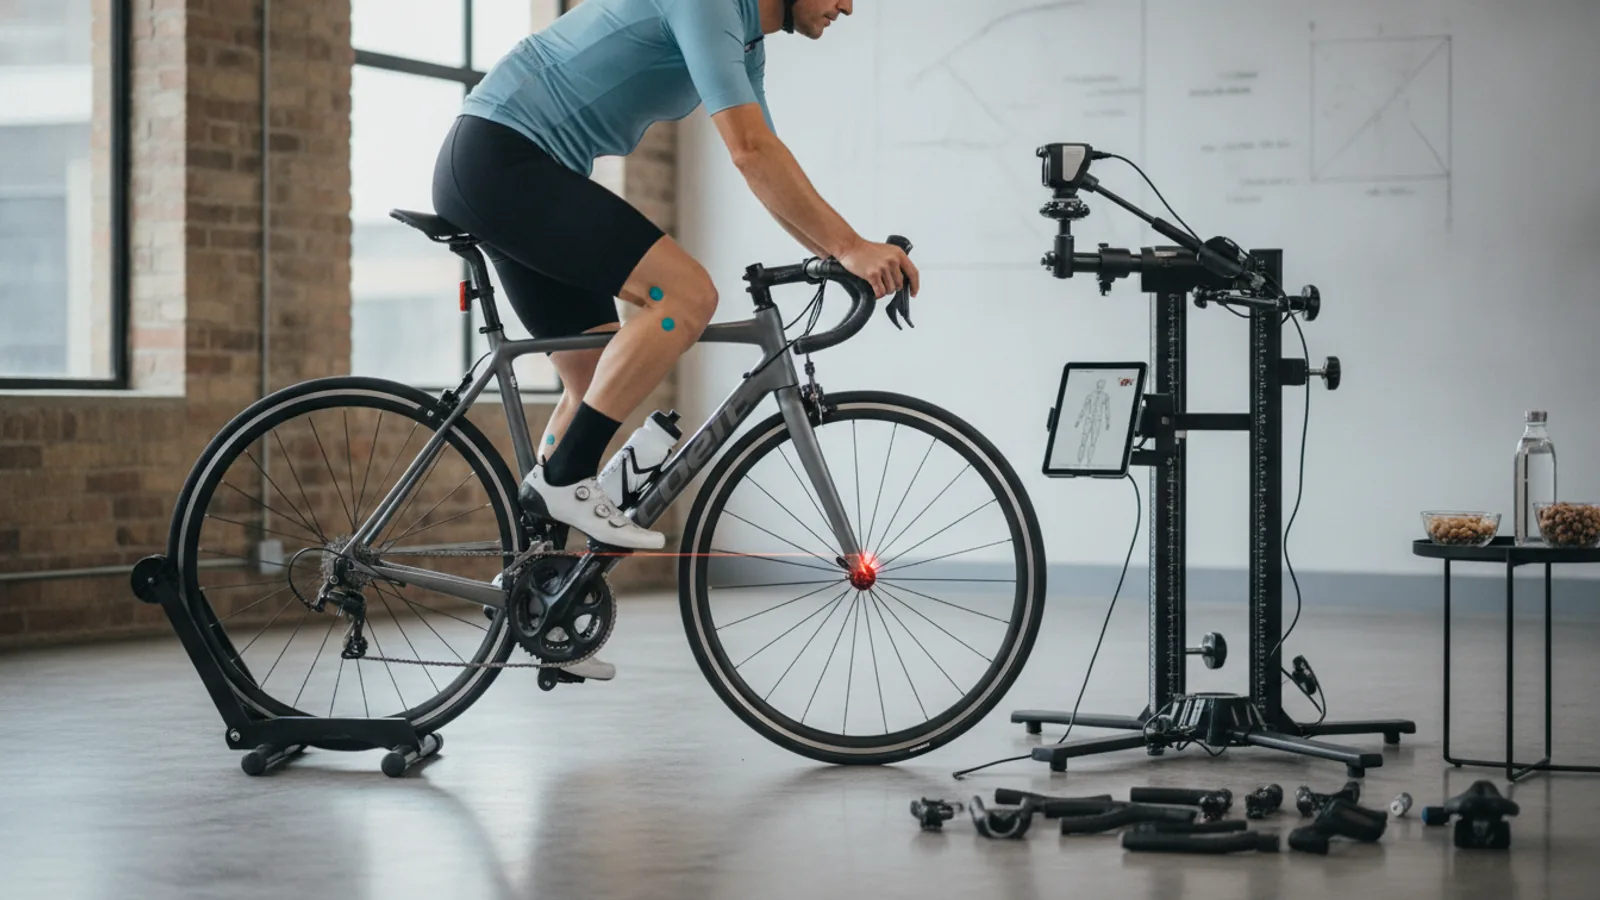
Visit a shop or seller and focus on fit before color, brand-free style, or accessories. Stand over the frame and confirm you have clearance when both feet are flat, then sit and check that you can reach the handlebars without locking your elbows or stretching your back. Your leg should have a slight bend at the bottom of the pedal stroke, not a full lock or a cramped angle. Ask to adjust the seat height and handlebar angle during the test, because small changes often rescue a frame that feels wrong at first. The practical check is a five-minute ride that includes a slow turn, a stop, and a start, since city commuting demands control at low speed. Fit matters because a bicycle that hurts after two kilometers will be left in the hallway, no matter how good its parts are.
Inspect brakes, tires, and drivetrain
Move to the mechanical parts that keep you safe and moving. Squeeze the brakes firmly and confirm the levers stop before touching the handlebar, and check that the pads contact the rim or disc evenly without rubbing. Spin each wheel and watch for side-to-side wobble, which can signal a bent rim or loose hub. Press the tires and read the sidewall for a width that suits rough streets, then look for cracks, embedded glass, or worn tread. Shift through every gear while riding and listen for skipping or grinding that suggests a worn chain or poorly tuned derailleur. This check matters because brakes and tires are your main safety systems in traffic, and a drivetrain that fails on a hill can leave you pushing the bike. If you cannot test ride, ask for a written condition report or have a mechanic inspect it.
Plan carrying, parking, and weather
Think through the whole trip, not just the ride. Decide whether you need a rack, basket, or backpack, and confirm the frame has the mounts or clearances for your choice. Check where the bike will live at work: a secure indoor spot, a covered rack, or a public stand exposed to rain and theft. Measure the narrowest doorway or stair turn on your route, because a heavy or wide bike becomes a daily burden if it barely fits. For wet climates, look for fenders, disc brakes, and sealed bearings that tolerate water better than open parts. The practical check is a dry run: carry your normal load, lock and unlock the bike, and store it in its real spot. This step matters because a great ride can be ruined by a bike that is hard to park, carry upstairs, or keep dry.
Choose simple, serviceable components
Favor parts that are easy to maintain and replace in your area. Internal gear hubs and single-speed setups need less cleaning than exposed derailleurs, though they offer fewer gear choices for steep hills. Mechanical disc brakes and rim brakes are generally simpler to adjust than complex hydraulic systems, but confirm a local shop can service whatever you choose. Look for standard wheel sizes and common bolt patterns so tires, tubes, and racks are easy to find. Check that the saddle and grips can be swapped without special tools, because comfort parts are personal and often need changing. The check is a conversation with a local mechanic about service time and part availability for your candidate bike. Simple, common components matter because a commuter bike must be repairable quickly, and a rare part can sideline you for days.
Do a final cost and ownership review
Add up the full ownership picture before you decide: the bike itself, lights, a lock, fenders, a rack, a helmet, and any initial service. Compare that total against your written budget, and leave room for regular upkeep such as new tires, brake pads, and chain care. Confirm the return or adjustment policy, and ask what fit changes are included after purchase, because a saddle or stem swap often solves lingering discomfort. Verify that the frame size and model suit your body and route rather than a passing trend. The practical check is a week-long trial if the seller allows it, using the bike for real errands and commutes. This review matters because the purchase price is only the beginning, and a bike that drains your budget or needs constant repairs will not become a reliable daily habit.
Quick Reference
| Situation | Action | Why it helps |
|---|---|---|
| Your route is short and flat with light traffic and easy indoor parking. | Choose a simple upright bicycle with wide tires, a comfortable saddle, basic gearing, and mounts for a rack and fenders, then test fit at a local shop. | A simple, stable design is easy to maintain, comfortable for short trips, and less likely to need costly repairs than a complex performance model. |
| Your commute is long, hilly, or includes a train or bus segment. | Look for a lighter frame, a wider gear range, and quick-release wheels, and confirm transit size or folding rules before buying. | Efficient gearing and lighter weight reduce fatigue on longer rides, while transport rules determine whether the bike can join part of your trip. |
| You ride in frequent rain or must park outdoors in public areas. | Prioritize fenders, disc brakes, sealed bearings, sturdy tires, and a strong lock, and confirm covered or secure parking at both ends of the trip. | Wet weather and public parking wear parts and raise theft risk, so weather protection and secure locking are daily needs, not luxuries. |
Common Issues
- The bike feels uncomfortable after a few kilometers.: Adjust saddle height and angle, handlebar reach, and tire pressure first, then consider a different saddle or stem; if discomfort remains, revisit frame size with a fit specialist.
- Gears skip or brakes rub during the ride.: Clean and lubricate the chain, check cable tension, and inspect brake pad alignment; if the problem continues, have a mechanic check derailleur alignment or wheel true.
- The bike is hard to store or carry at home or work.: Measure doorways, stairs, and parking spots, then consider a lighter frame, folding design, or wall or ceiling storage rack that fits your actual space.
Advanced Tips
- Learn to fix a flat tire and adjust your brakes at home, because roadside repairs are far easier when you have practiced them once in daylight.
- Rotate your tires and replace them before the tread disappears, since worn tires puncture more easily and grip poorly on wet city streets.
- Record your bicycle serial number and keep a photo of it, because that information helps recovery and insurance claims if the bike is stolen.
Final Checklist
- Confirm the frame fits your body with a slight knee bend and comfortable reach to the handlebars.
- Test brakes, tires, gears, and lights on a real ride that includes a stop, a start, and a turn.
- Verify parking, carrying, and weather protection plans for home, work, and any transit segment.
- Review the total cost of the bike plus essential accessories and ongoing maintenance within your budget.
FAQ
How do I know which frame size fits me?
Stand over the frame for clearance, then sit and pedal with a slight bend in your knee at the bottom of the stroke. Your reach to the handlebars should feel relaxed, not stretched. Ask the seller to adjust the saddle and bars during a test ride, because small changes often fix minor discomfort. If two sizes both feel close, choose the one that needs fewer changes and lets you place a foot down comfortably at stops.
Do I need many gears for city commuting?
Only if your route has real hills or you carry heavy loads. A single-speed or internally geared bike is simpler to clean and maintain on flat routes, while a wider gear range helps on climbs and longer distances. Ride your actual route or a similar hill before deciding, and choose the simplest setup that keeps your pedaling comfortable. Fewer gears mean less maintenance, but too few can make steep sections unpleasant.
How can I keep my commuter bike from being stolen?
Use a strong lock through the frame and a fixed object, and lock in a visible, well-lit place when possible. Remove quick-release parts or secure them with a secondary lock, and record your serial number with a photo. At home, store the bike indoors or in a locked area rather than a shared hallway. Check whether your building or workplace offers secure parking, and ask about any registration or marking options available locally.