How To Remove Bicycle Pedals
This guide explains how to approach how to remove bicycle pedals, including the preparation, practical steps, common mistakes, and final checks that help you finish with confidence.
Before You Start
Gathering the right tools and understanding a couple of key principles will make this job straightforward. The most common mistake is turning the left pedal the wrong way, which only tightens it. Let's get prepared to do it right the first time.
What You Need
Safety, Timing, and Context Checks
Before you apply any force, take a moment to assess the situation. A quick check now can save you from scraped knuckles and a damaged crank arm.
Step-by-Step Instructions
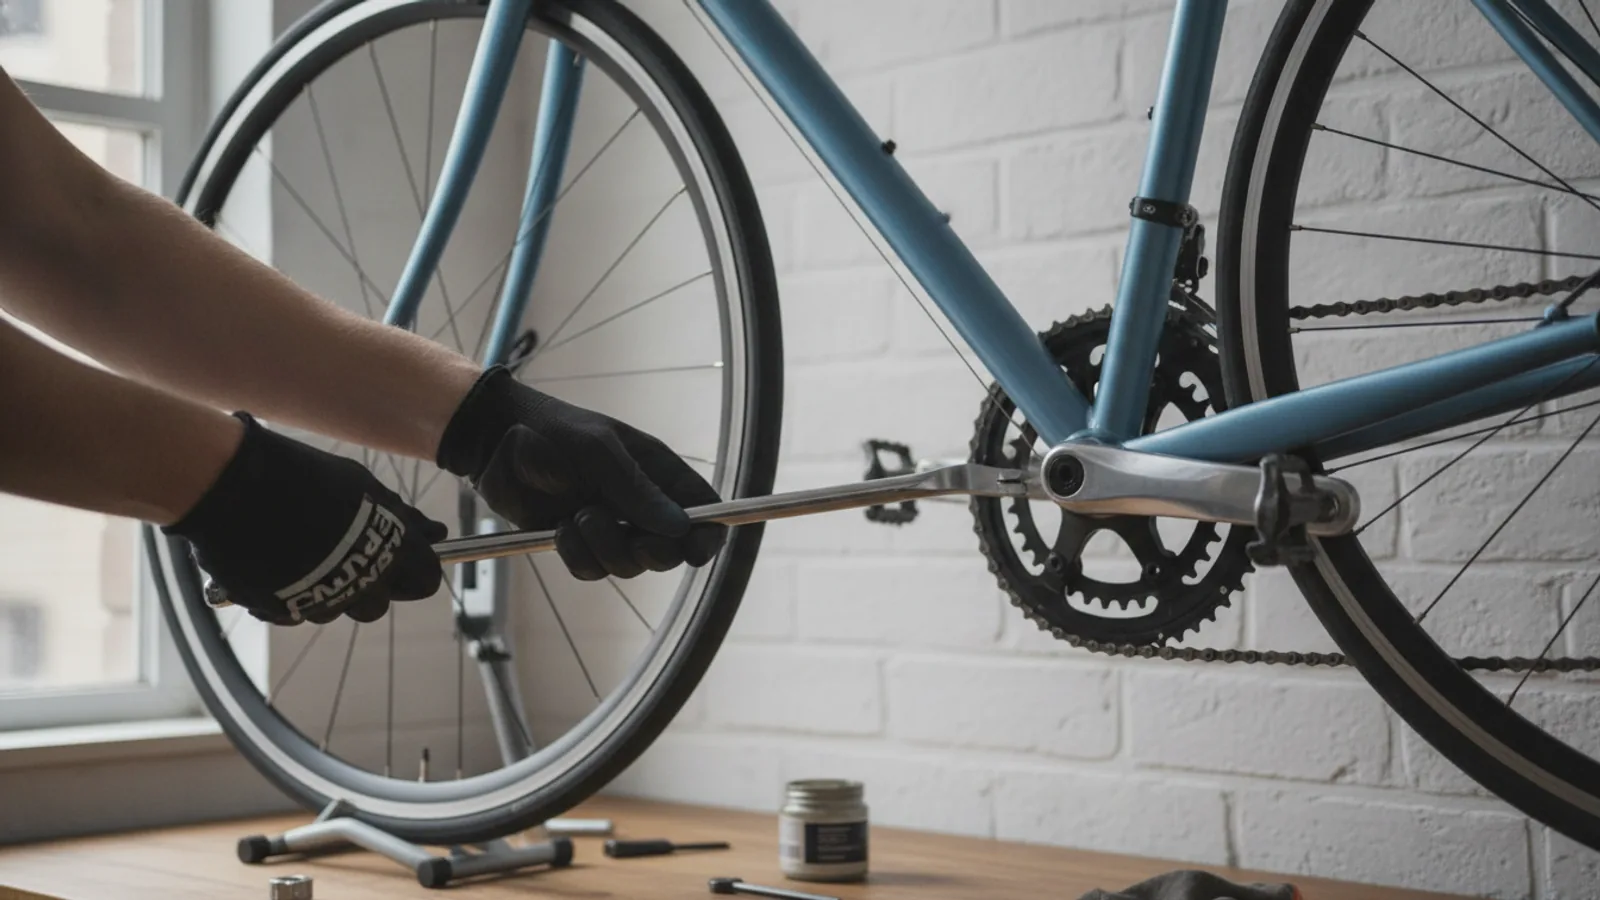
Follow these steps carefully for a smooth removal process. We’ll start with the right-hand pedal, which uses a standard thread, before moving to the tricky left-hand one.
Quick Reference
Common Problems When You remove bicycle pedals
Even a simple job can have its hitches. Here are some of the most common issues you might encounter and how to solve them without reaching for a hammer.
The Pedal Simply Won't Budge
This is the number one issue. It's almost always caused by one of two things: turning it the wrong way or galvanic corrosion (where two different metals, like a steel pedal axle and an aluminium crank arm, effectively fuse together over time).
- Solution 1: Triple-check direction. Stop and say it out loud: "This is the left pedal, I need to turn it clockwise." It's easy to get mixed up when you're upside down or wrestling with the bike.
- Solution 2: Penetrating oil is your best friend. Be patient. Spray it on, tap the area gently to help it work into the threads, and give it time. An hour or even overnight can make all the difference.
- Solution 3: Leverage. Position the crank and tool so you can stand on the spanner (carefully!) to use your body weight. If that fails, it may be time to visit a local bike shop. They have workshop-grade tools that can provide much more force than standard home tools.
Using the Wrong Tool and Damaging the Pedal
Using an adjustable spanner or a standard wrench that's too thick can be a recipe for disaster. These tools often don't fit snugly on the thin pedal flats, and they can easily slip and round off the edges, leaving you with nothing to grip.
- Solution: Invest in a proper pedal spanner. They are relatively inexpensive, and they are designed to be thin enough and long enough for the job. For hex key pedals, use a high-quality key that won't bend or strip the socket inside the axle.
Stripping the Threads in the Crank Arm
This is the most serious potential problem, as it can ruin an expensive crankset. It's usually caused by applying extreme force in the wrong direction or by cross-threading when installing a pedal.
- Prevention: Always start threading pedals by hand. They should screw in easily for the first few turns. If you feel resistance, stop, back it out, and try again. Never force a pedal to thread.
- The Fix: If the threads are damaged, it's a job for a professional. A bike shop can sometimes repair the threads by tapping them or installing a thread insert (a helicoil), but in severe cases, the crank arm may need to be replaced.
Advanced Tips for removing bicycle pedals
Once you've mastered the basics, these tips can help you deal with a truly stubborn pedal or simply make the job a part of your regular, proactive maintenance schedule.
Mastering Leverage
Understanding how to maximise your force is key. Instead of just pushing, think about creating a lever. If you position the crank arm at 9 o'clock and the spanner at 3 o'clock, you create a large space where you can get your whole body involved. This is often more effective and safer than a short, jerky movement.
Judicious Use of Heat
For a truly seized pedal in an aluminium crank arm, heat can be a last resort. Aluminium expands more than steel when heated. By carefully warming the crank arm around the pedal axle with a hairdryer or heat gun, you can cause it to expand slightly, which may be enough to break the corrosion's grip. Use extreme caution: use the lowest setting, keep the heat moving, and never heat carbon fibre components. The goal is to get it warm, not hot.
Proactive Maintenance is the Best Cure
The easiest pedal to remove is one that was installed correctly. Whenever you install pedals, apply a thin layer of waterproof bicycle grease or anti-seize compound to the threads. This creates a barrier against moisture and prevents galvanic corrosion. It's good practice to remove, clean, and re-grease your pedals once a year as part of a routine service.
Understanding the 'Why' of Reverse Threading
Ever wondered why the left pedal is threaded backwards? It's due to a mechanical phenomenon called 'precession'. As you pedal, the force on the axle causes it to roll very slightly in the opposite direction inside the threads. On the right side, this rolling motion is a tightening one. If the left pedal had a standard thread, this same motion would cause it to slowly unscrew itself as you ride. The reverse thread ensures that the precession effect works to keep the pedal tight, not loosen it.
How To Remove Bicycle Pedals FAQ
Why is my left bike pedal threaded backwards?
Can I use a normal 15mm spanner to remove my pedals?
My pedals don't have flats for a spanner. How do I remove them?
How tight should I make my pedals when I put them back on?
What kind of grease is best for pedal threads?
Final Checklist for removing bicycle pedals
Before you pack your tools away or fit your new pedals, run through this final checklist to ensure you've done the job correctly and set yourself up for success next time.
- Confirmed you have the right tool: a 15mm pedal spanner or the correct size hex key.
- Correctly identified the left ('L') and right ('R') pedals.
- Successfully remembered the left pedal's reverse thread (clockwise to loosen).
- Applied force safely by positioning the cranks to push downwards.
- Used penetrating oil and patience for any stubborn or seized pedals.
- Thoroughly cleaned the old grease and grime from the crank arm threads.
- Inspected the threads on both the old pedals and the cranks for any signs of damage.
- If reinstalling, applied a fresh layer of grease to the pedal threads to prevent future seizing.